Event creation - Schedule
This steps define the schedule of an event.
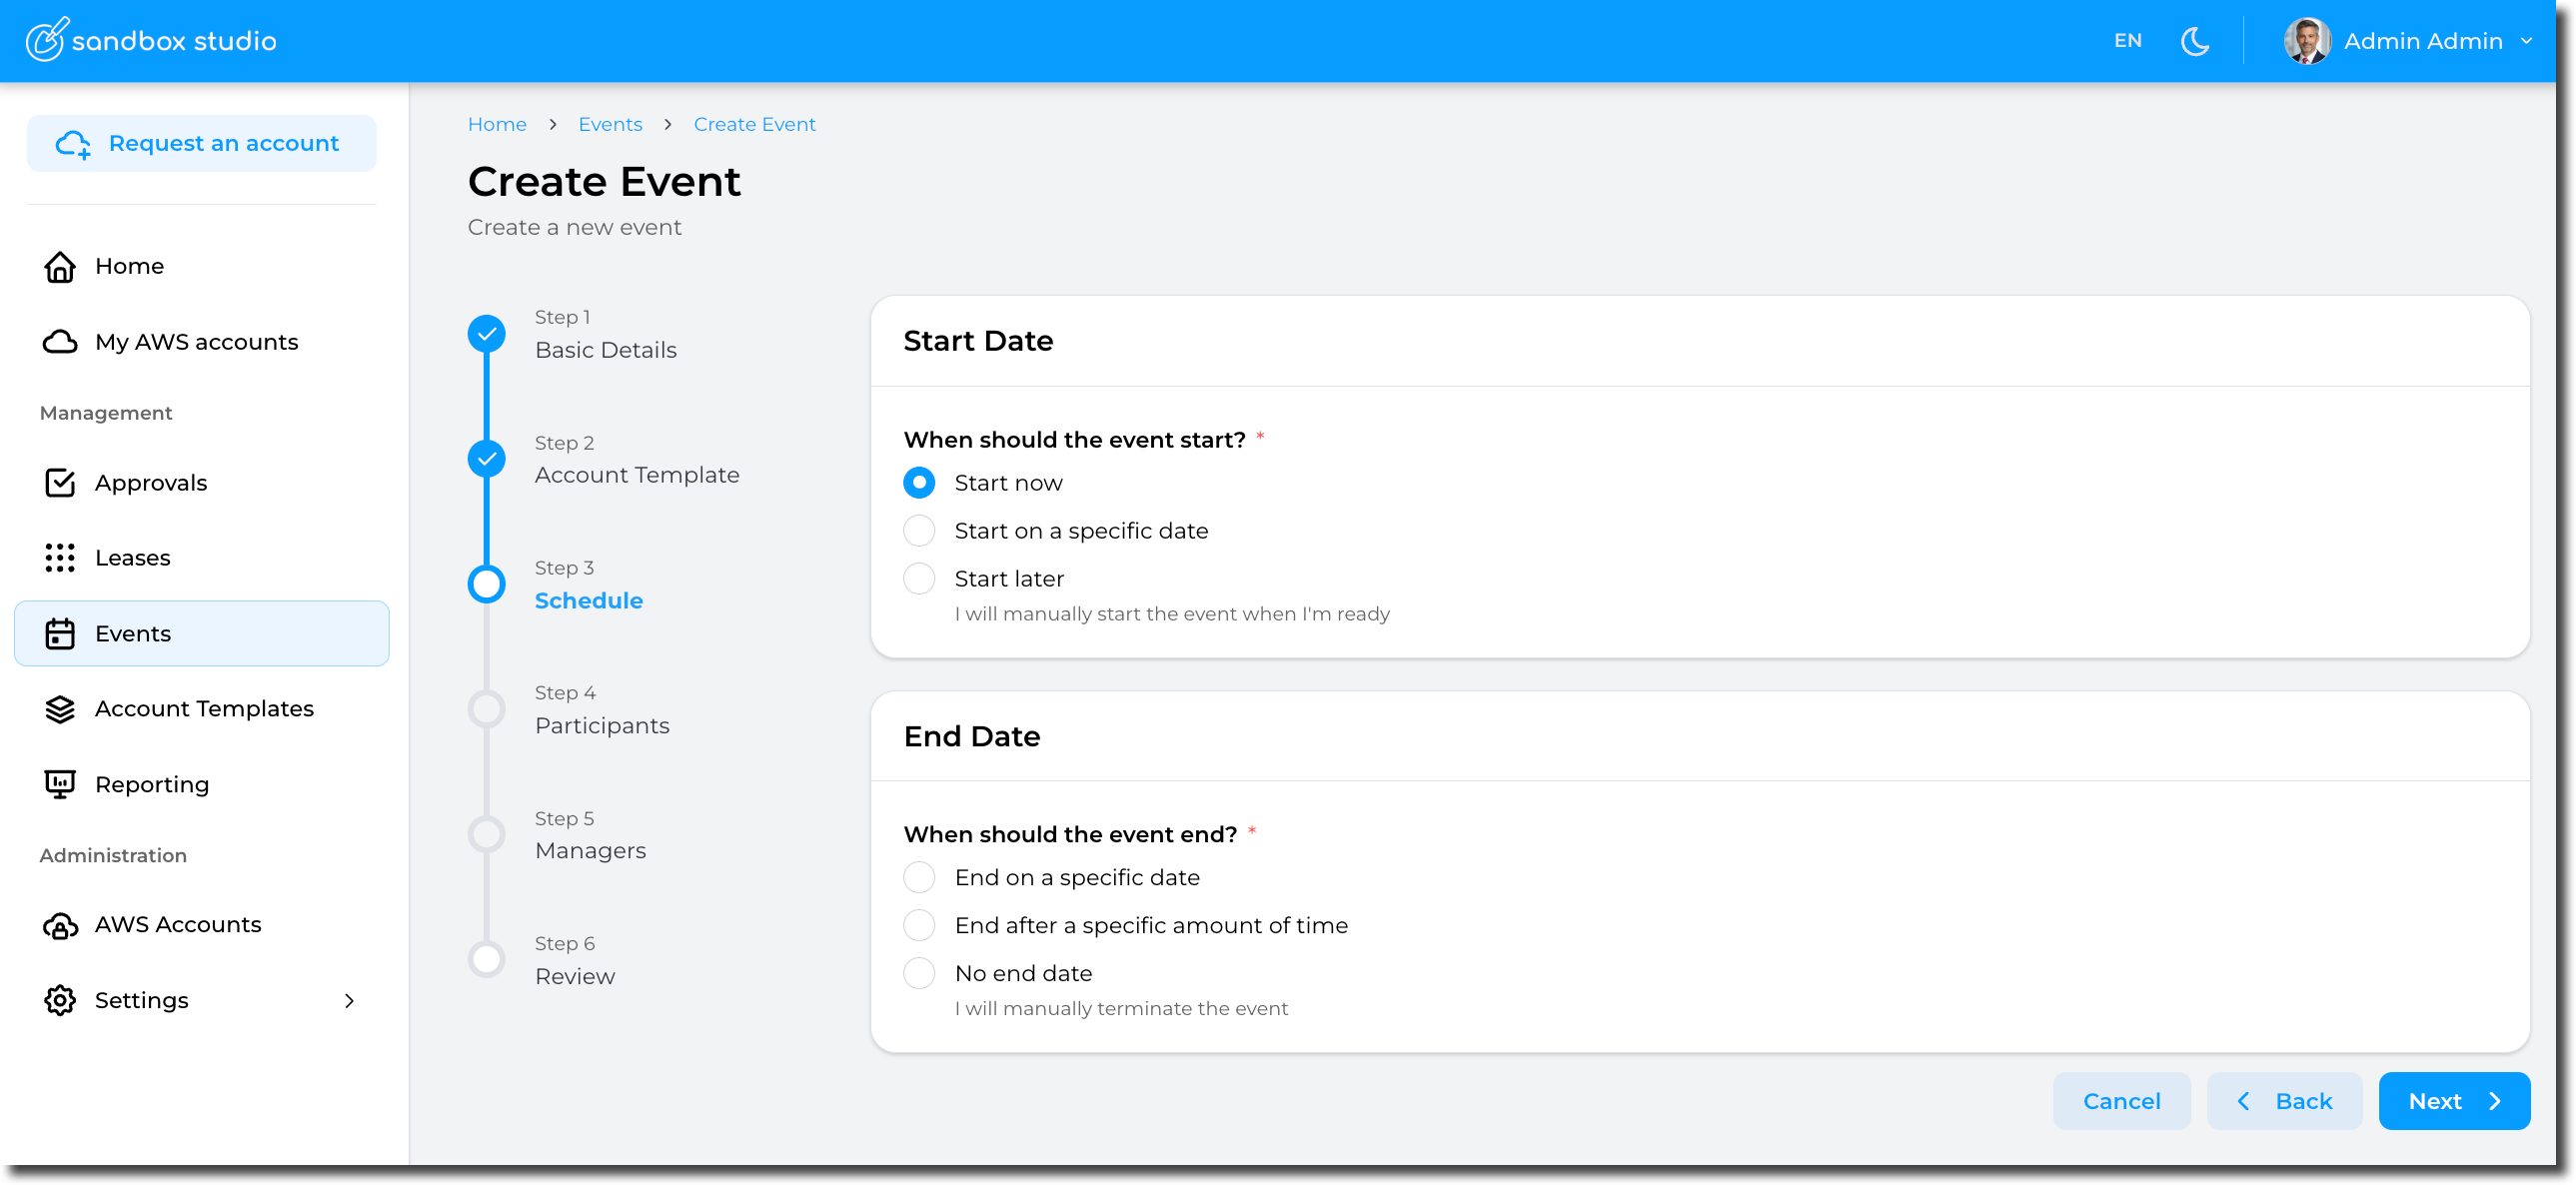
Schedule are defined as follows:
Start Date
- Start now
Selecting this option will automatically provision the accounts (aka, create leases) and start the event.
-
- Pros: Easy, the event starts immediately and you can start right away!
- Cons: If your account template provisions resources in the account, you will need to wait for the accounts to be ready before accessing them. This provisioning time counts towards your event duration
- Start on a specific date
You can set the event to start on a specific date (and time) you define. This is particularly useful is you want to schedule an event to start automatically in the future.
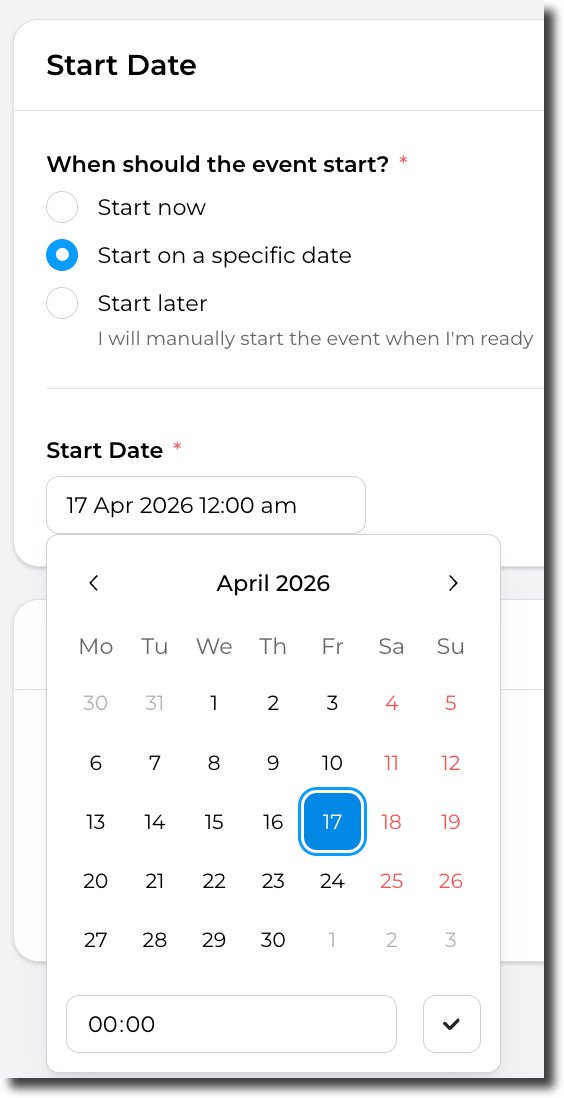
-
- Pros: "Set and forget", the event will automatically start at the date/time of your choice. This option also allows you to pre-provision the accounts before the event starts, so you don't have to wait for the resources to be created in the accounts.
- Cons: Not much! But as per the "Start now" option, If your account template provisions resources in the account, you will need to either pre-provision the account manually before the start of the event or wait for the accounts to be ready before accessing them.
- Start later
You can chose not to start the event automatically. In this instance, you will have to start the event manually.
- Pros: No rush! You can take your time to create and configure the event. You can also update this value later if you finally decide to start the event automatically.
- Cons: The event won't starts automatically, so you will need to start it manually.
End Date
- End on a specific date
Automatically ends the event on a specific date/time. When this date/time comes, the event will be terminated and leases will be terminated.
- End after a specific amount of time
Automatically ends the event after a specific amount of time: The count down starts when the event is started. Use this option if you want to terminate the event after some time. For instance: "Terminate the event after 7 days"
- No end date
With this option, the event will not be terminated automatically. So you will have to terminate the event manually.
Having set the schedule, click on Next to move to Event creation - Participants