Events
- What are events?
- Event creation - Overview
- Event creation - Basic details
- Event creation - Account template
- Event creation - Managers
- Event creation - Schedule
- Event creation - Participants
- Event creation - Review
- Terminate events
- Start events and provision accounts
What are events?
Events allow you to assign and manage AWS accounts for a group of users in one place.
This is useful when working with a defined set of participants, for example:
- Running a workshop or hackathon
- Delivering a university subject or training course
- Onboarding a group of new team members
Key Characteristics
- Bulk management — Create, assign, and manage multiple leases from a single view rather than handling them individually.
- Pre-creation — Events can be created and fully provisioned before they start. Accounts and resources are prepared ahead of time so users can start immediately when the event is started.
- Unassigned leases — Leases within an event can be created without being assigned to a specific user. This lets you prepare a pool of ready-to-go accounts and assign them to participants later.
- Limit overrides — Event-level limits (duration, budget) override the account template defaults. If an account template has a maximum duration of 10 days but the event is configured for 20 days, the event's 20-day limit applies to all leases within it.
Event Lifecycle
- Created — The event is defined with its limits, account template, and number of leases. Accounts and resources can be pre-provisioned at this stage. No costs are incurred yet.
- Started — The event is activated. Leases become active and participants can access their assigned accounts.
- Ended — The event concludes. All leases are terminated, access is revoked, and accounts are reclaimed.
Events vs Individual Leases
Individual leases are suited for on-demand, self-service access — a single user or small team needing a sandbox. Events are designed for coordinated, group-based scenarios where an organiser needs to prepare and manage many accounts at once with consistent settings.
Event creation - Overview
To create a new account template:
- Click on "Events" on the left menu
- Click on "Create Event"
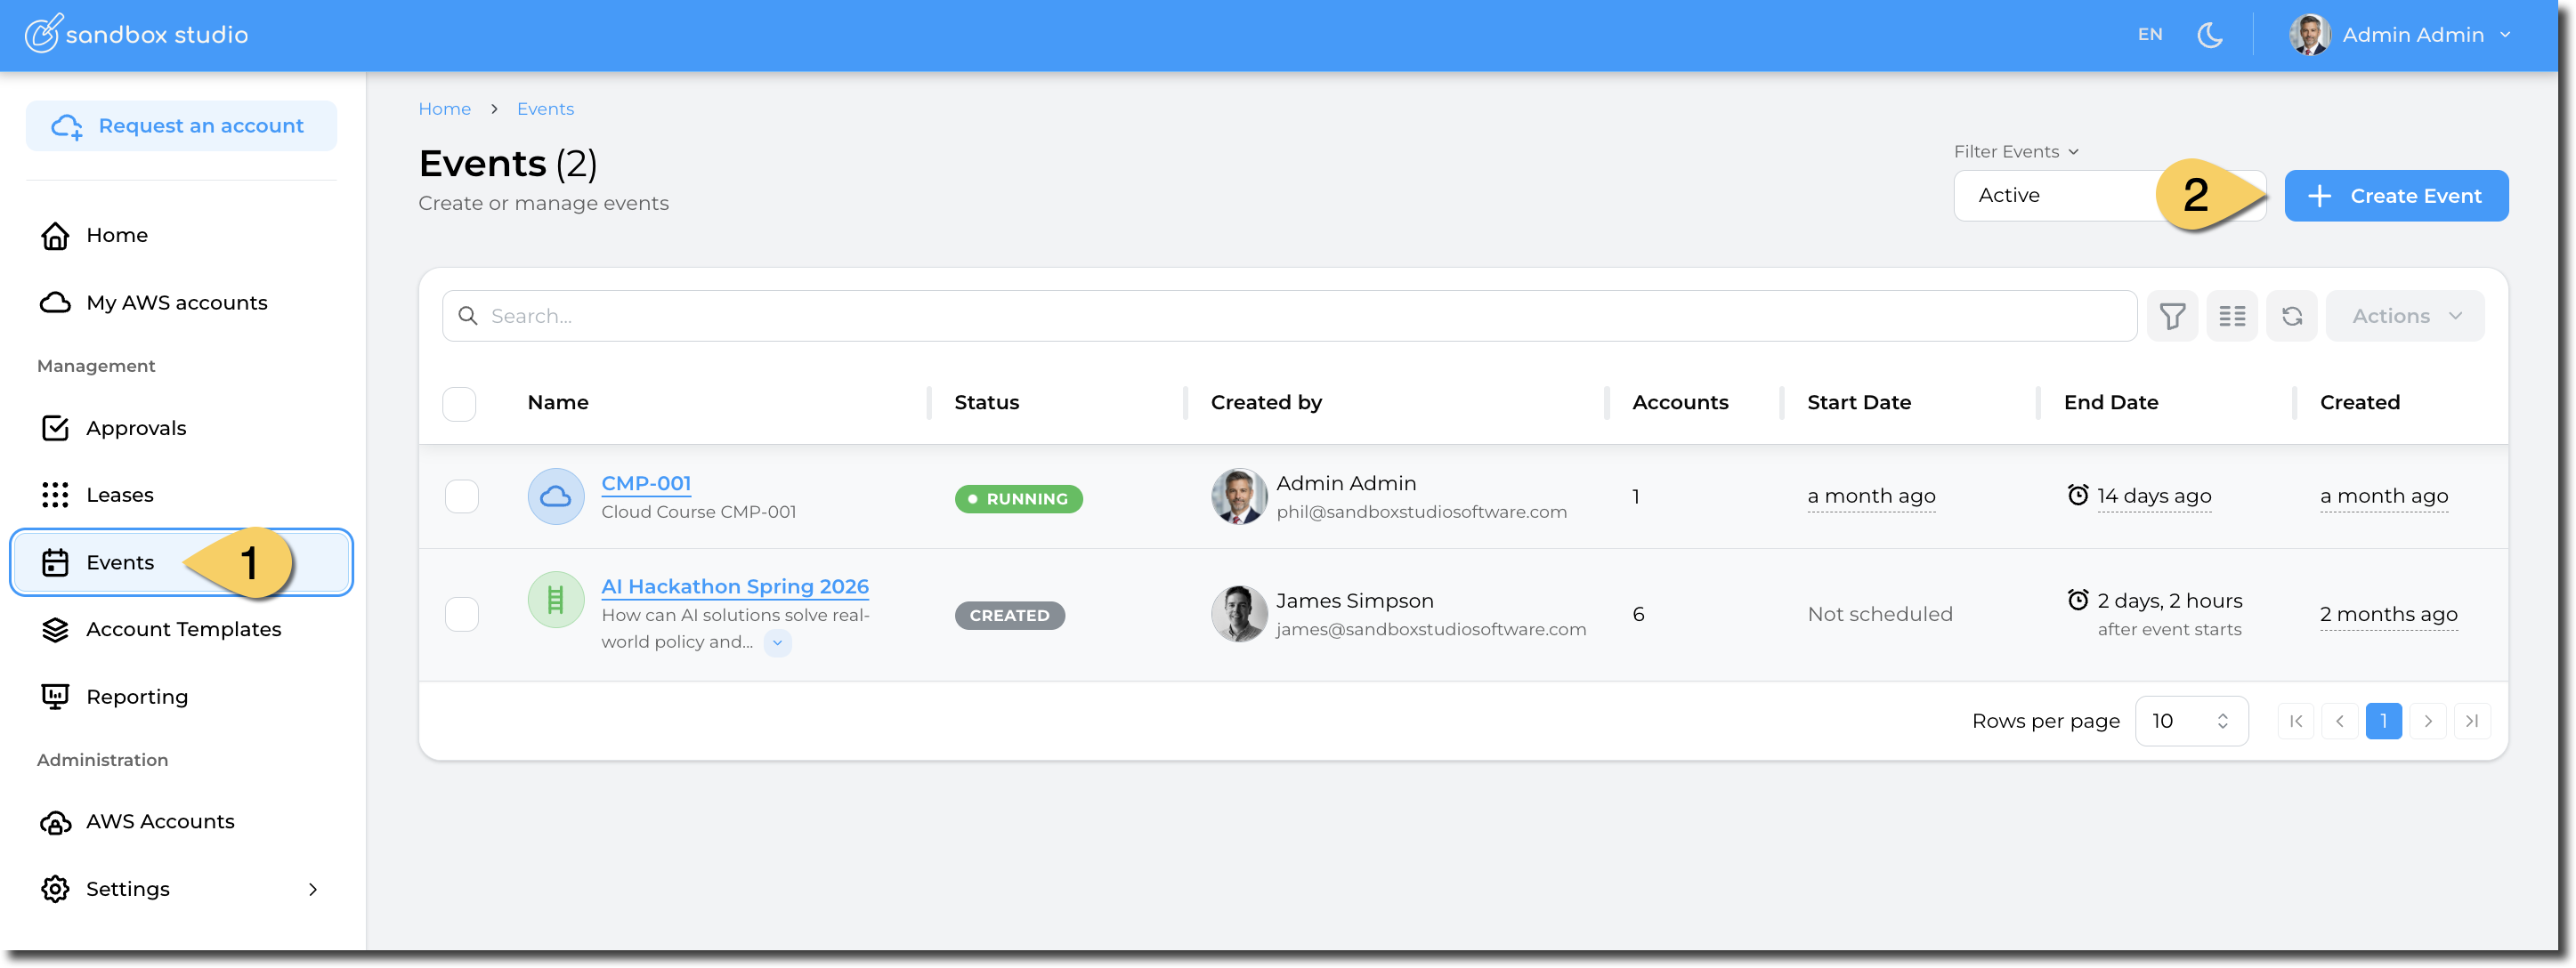
Creating an event is a 6-step process listed as follows:
Event creation - Basic details
First step of the event creation wizard is to set the basic information to describe your event:
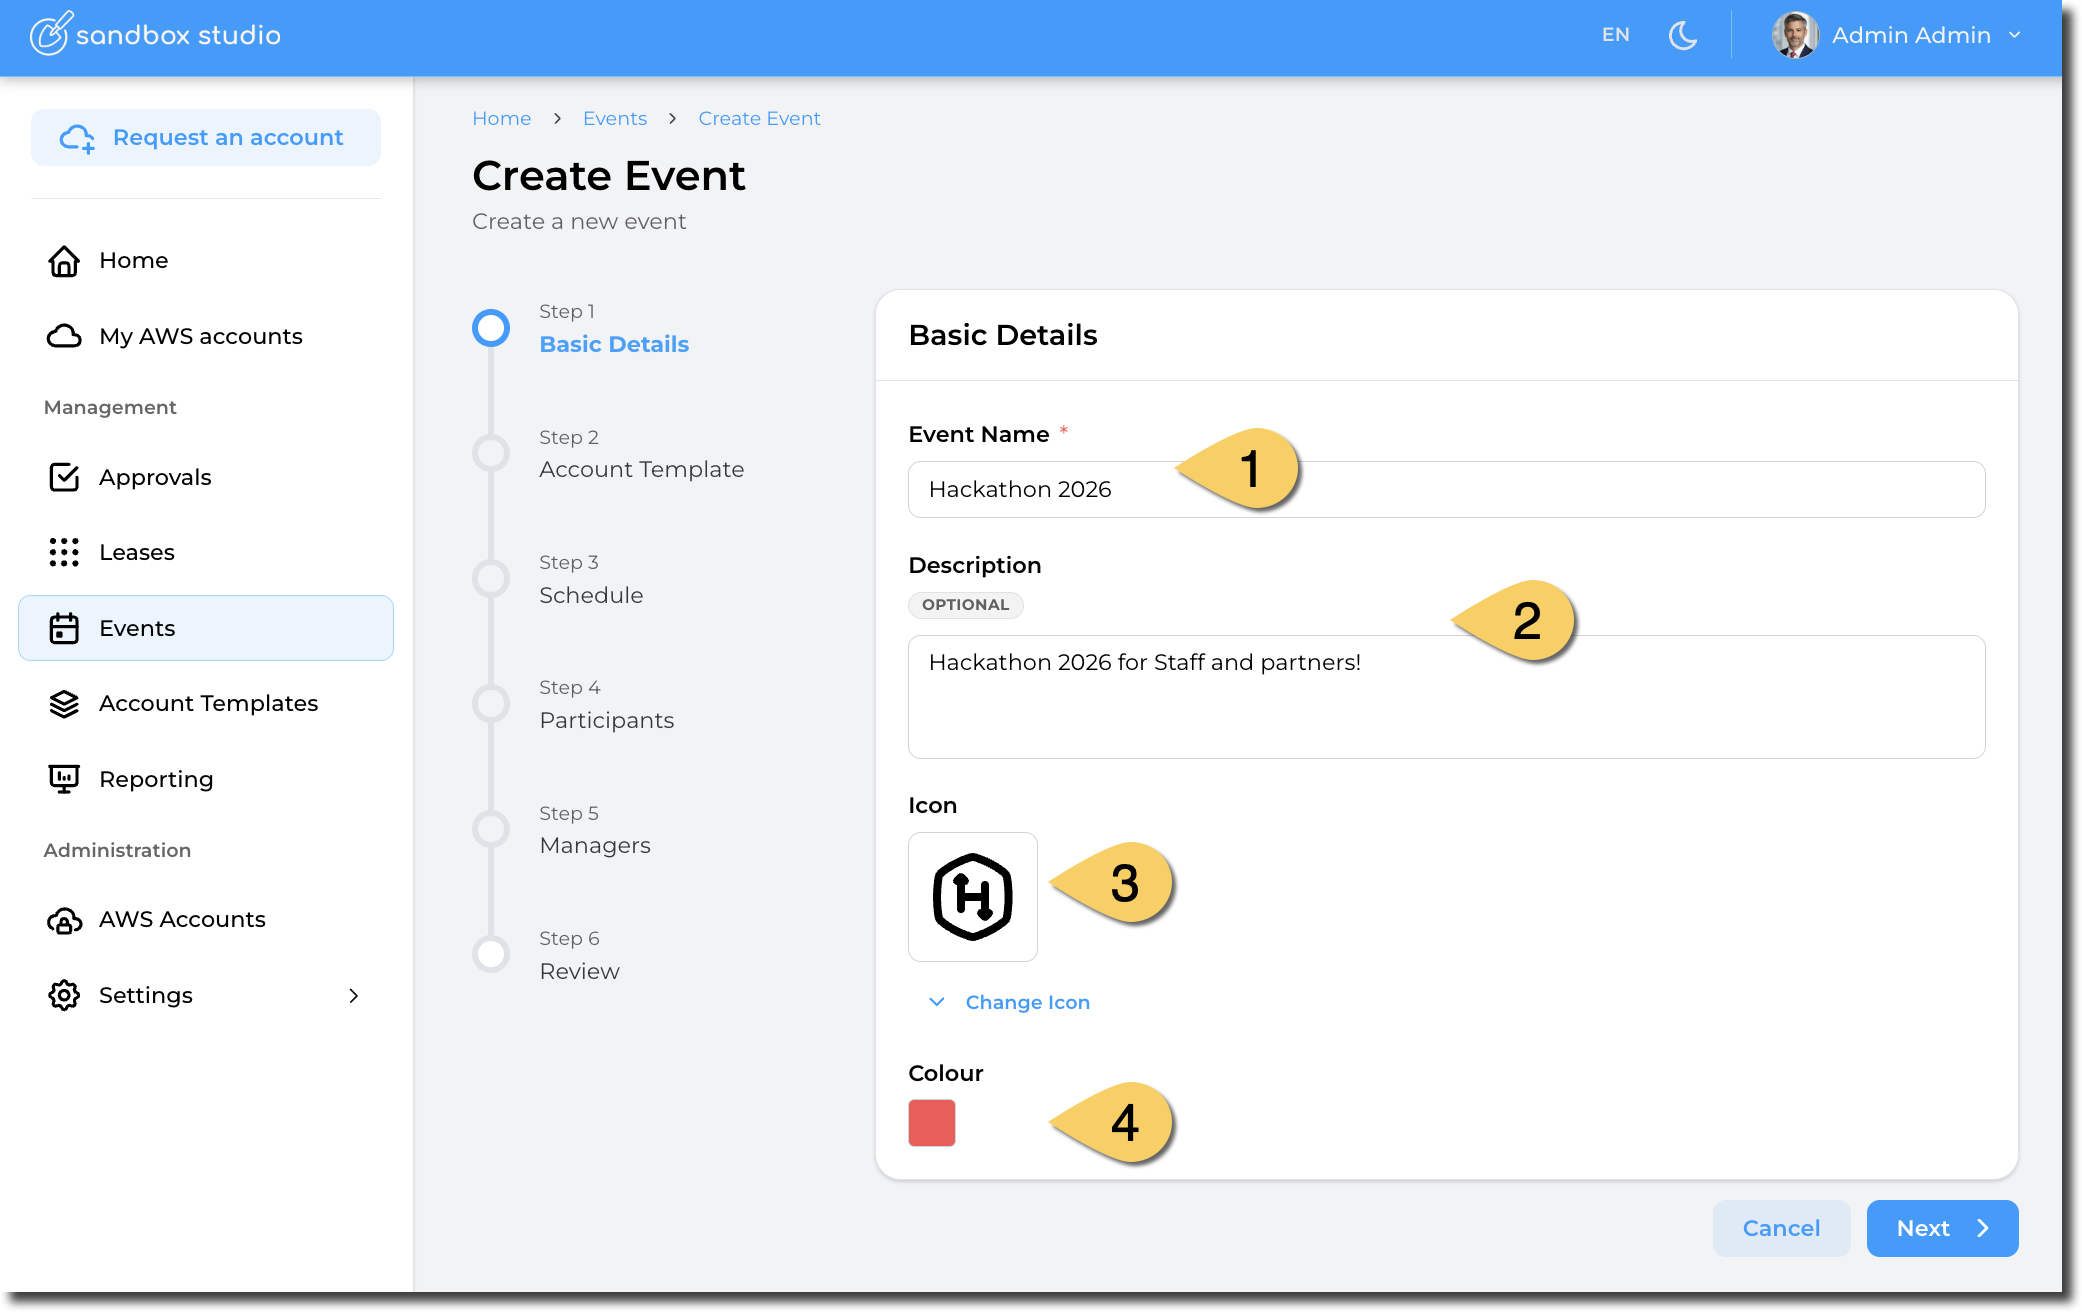
- Name of the event: Remember, this is will be used by your users to find your event, so make it unique and easy to find!
- Description of the event
- Icon: Choose the icon to identify your event
- Colour: Choose the colour of your event
Having completed all the fields on the Basic Details page as needed, click on Next to move to Event creation - Account template
Event creation - Account template
In this step, you define the account template you want to use in your event. The account template will define settings like:
- Permissions
- Resources created in the event
- Budget
- ...
Note: Account templates also define lease duration, but within an event, this is overridden by the event's own duration setting.
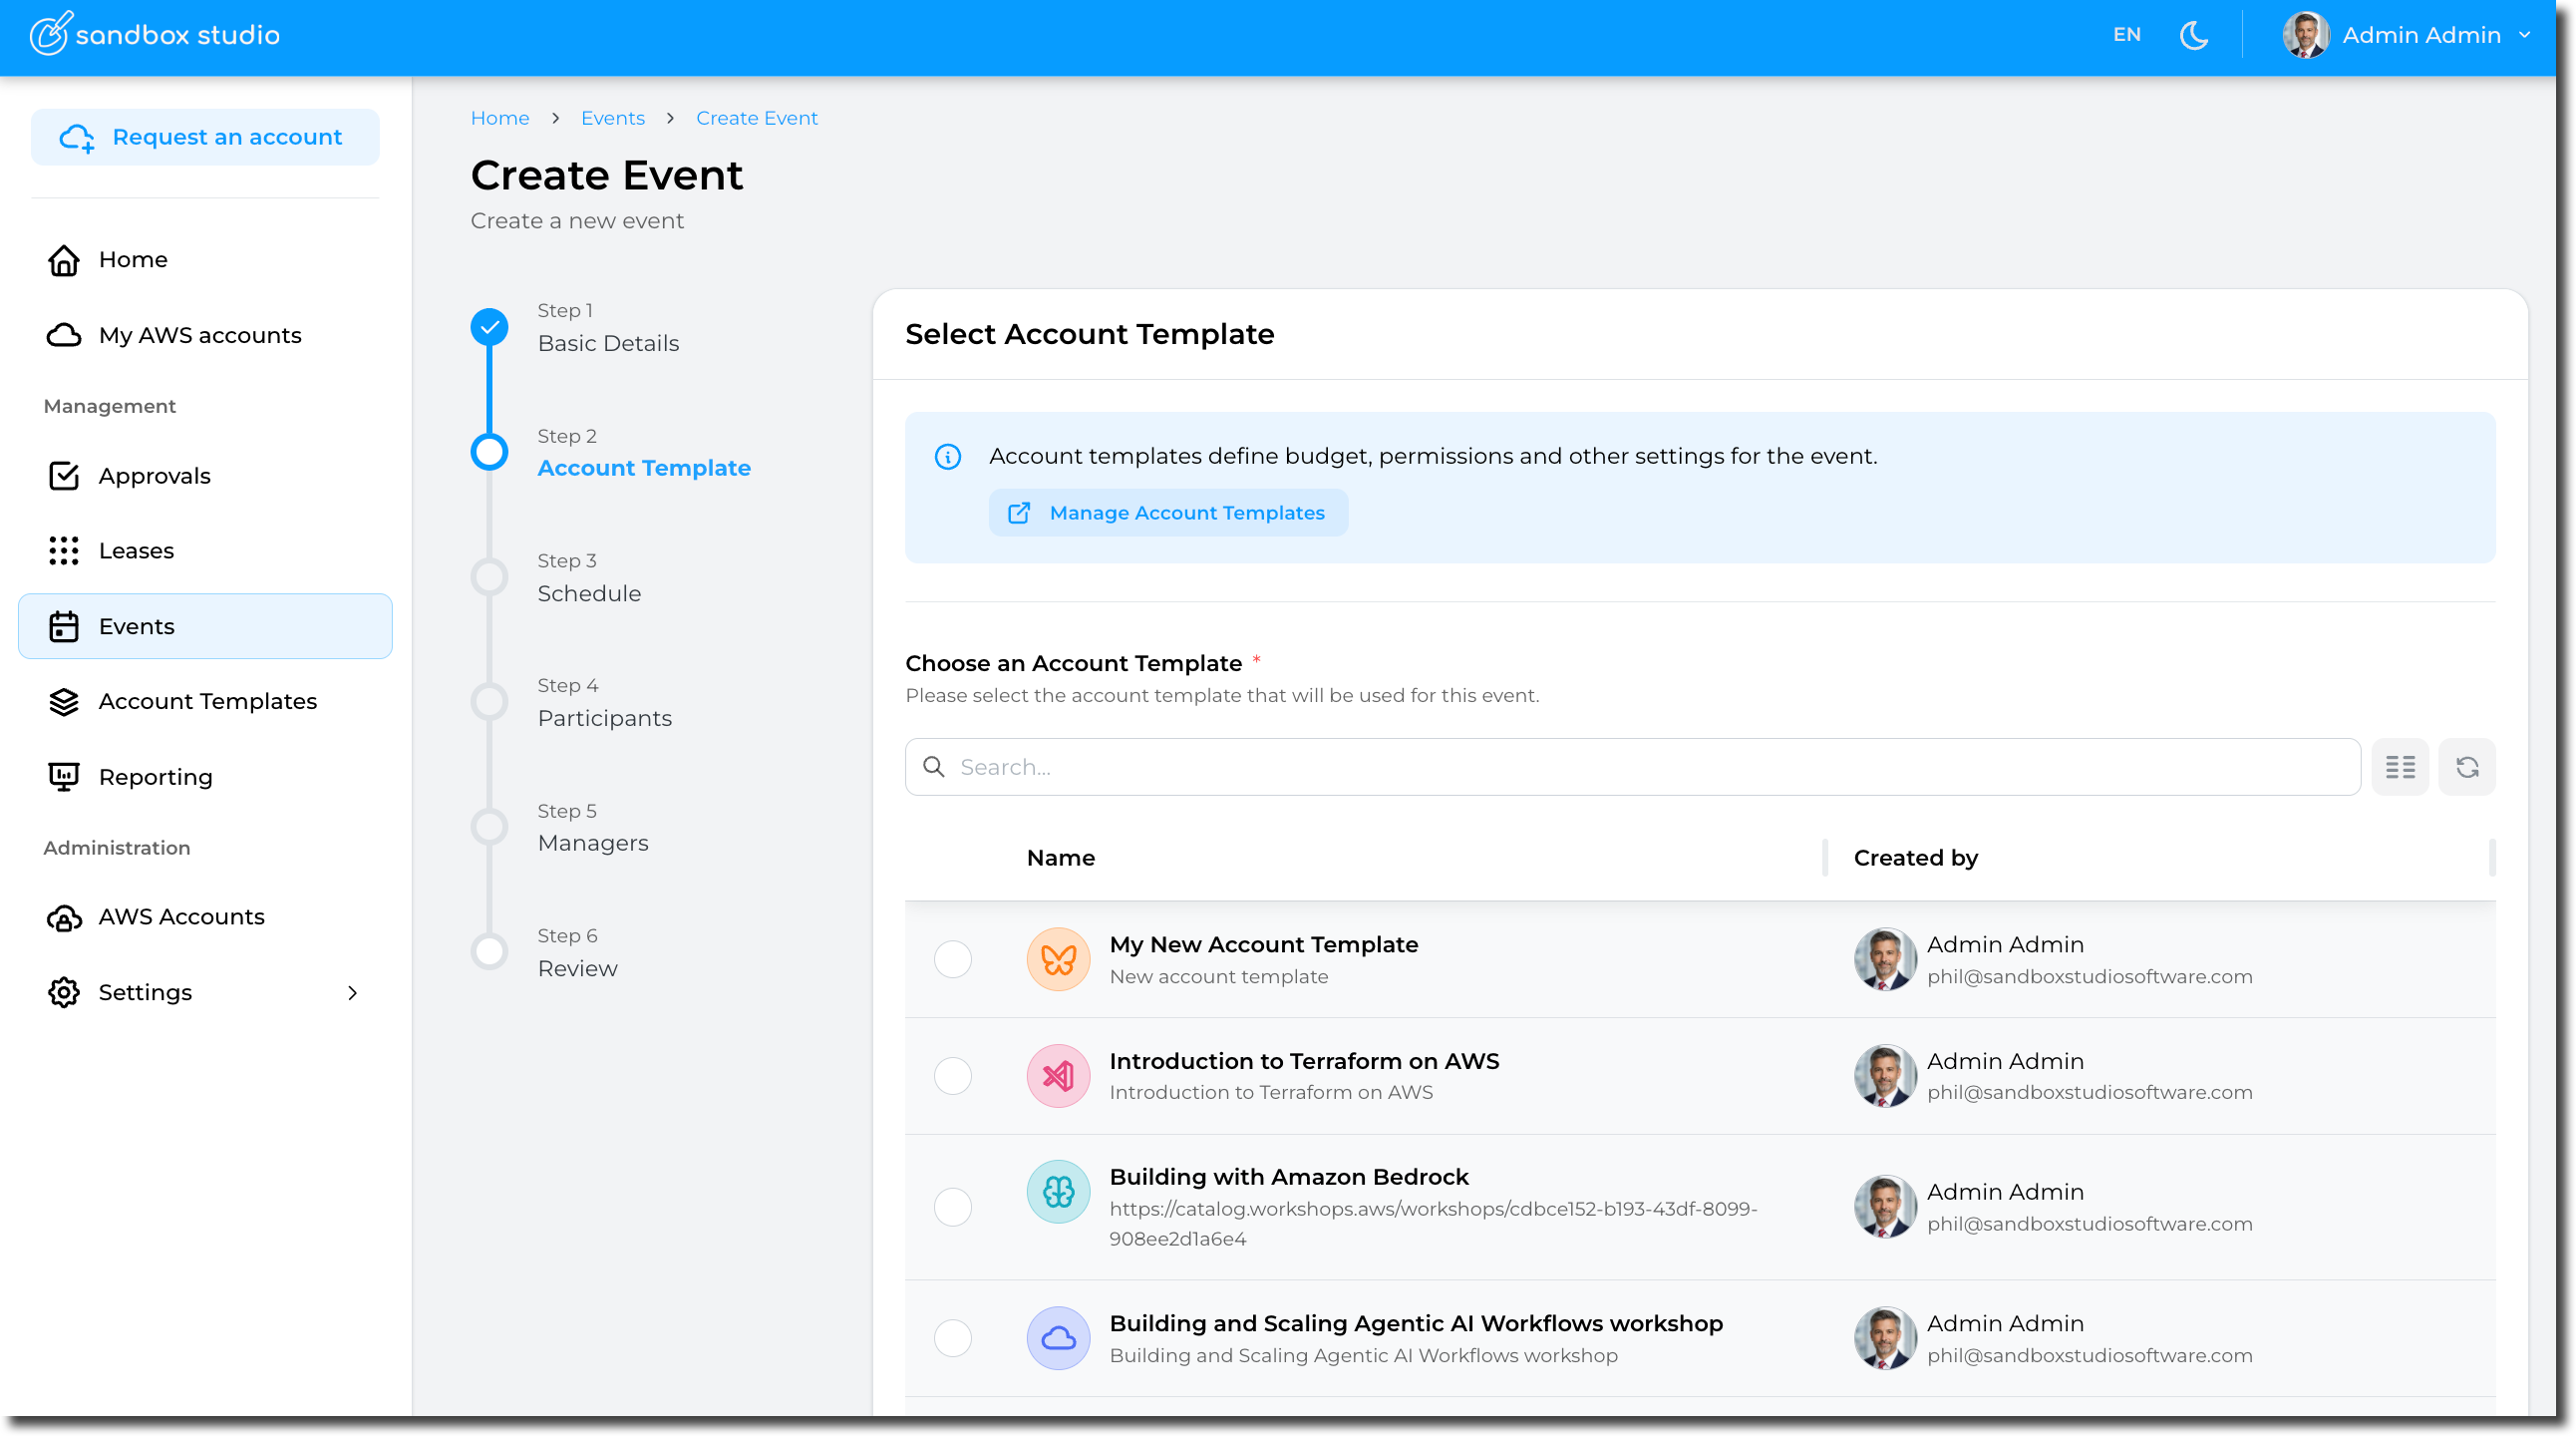
Having selected the account template, click on Next to move to Event creation - Schedule
Event creation - Managers
This step allows you to define who can manage the event:
- Update event
- Add or remove accounts and assign users
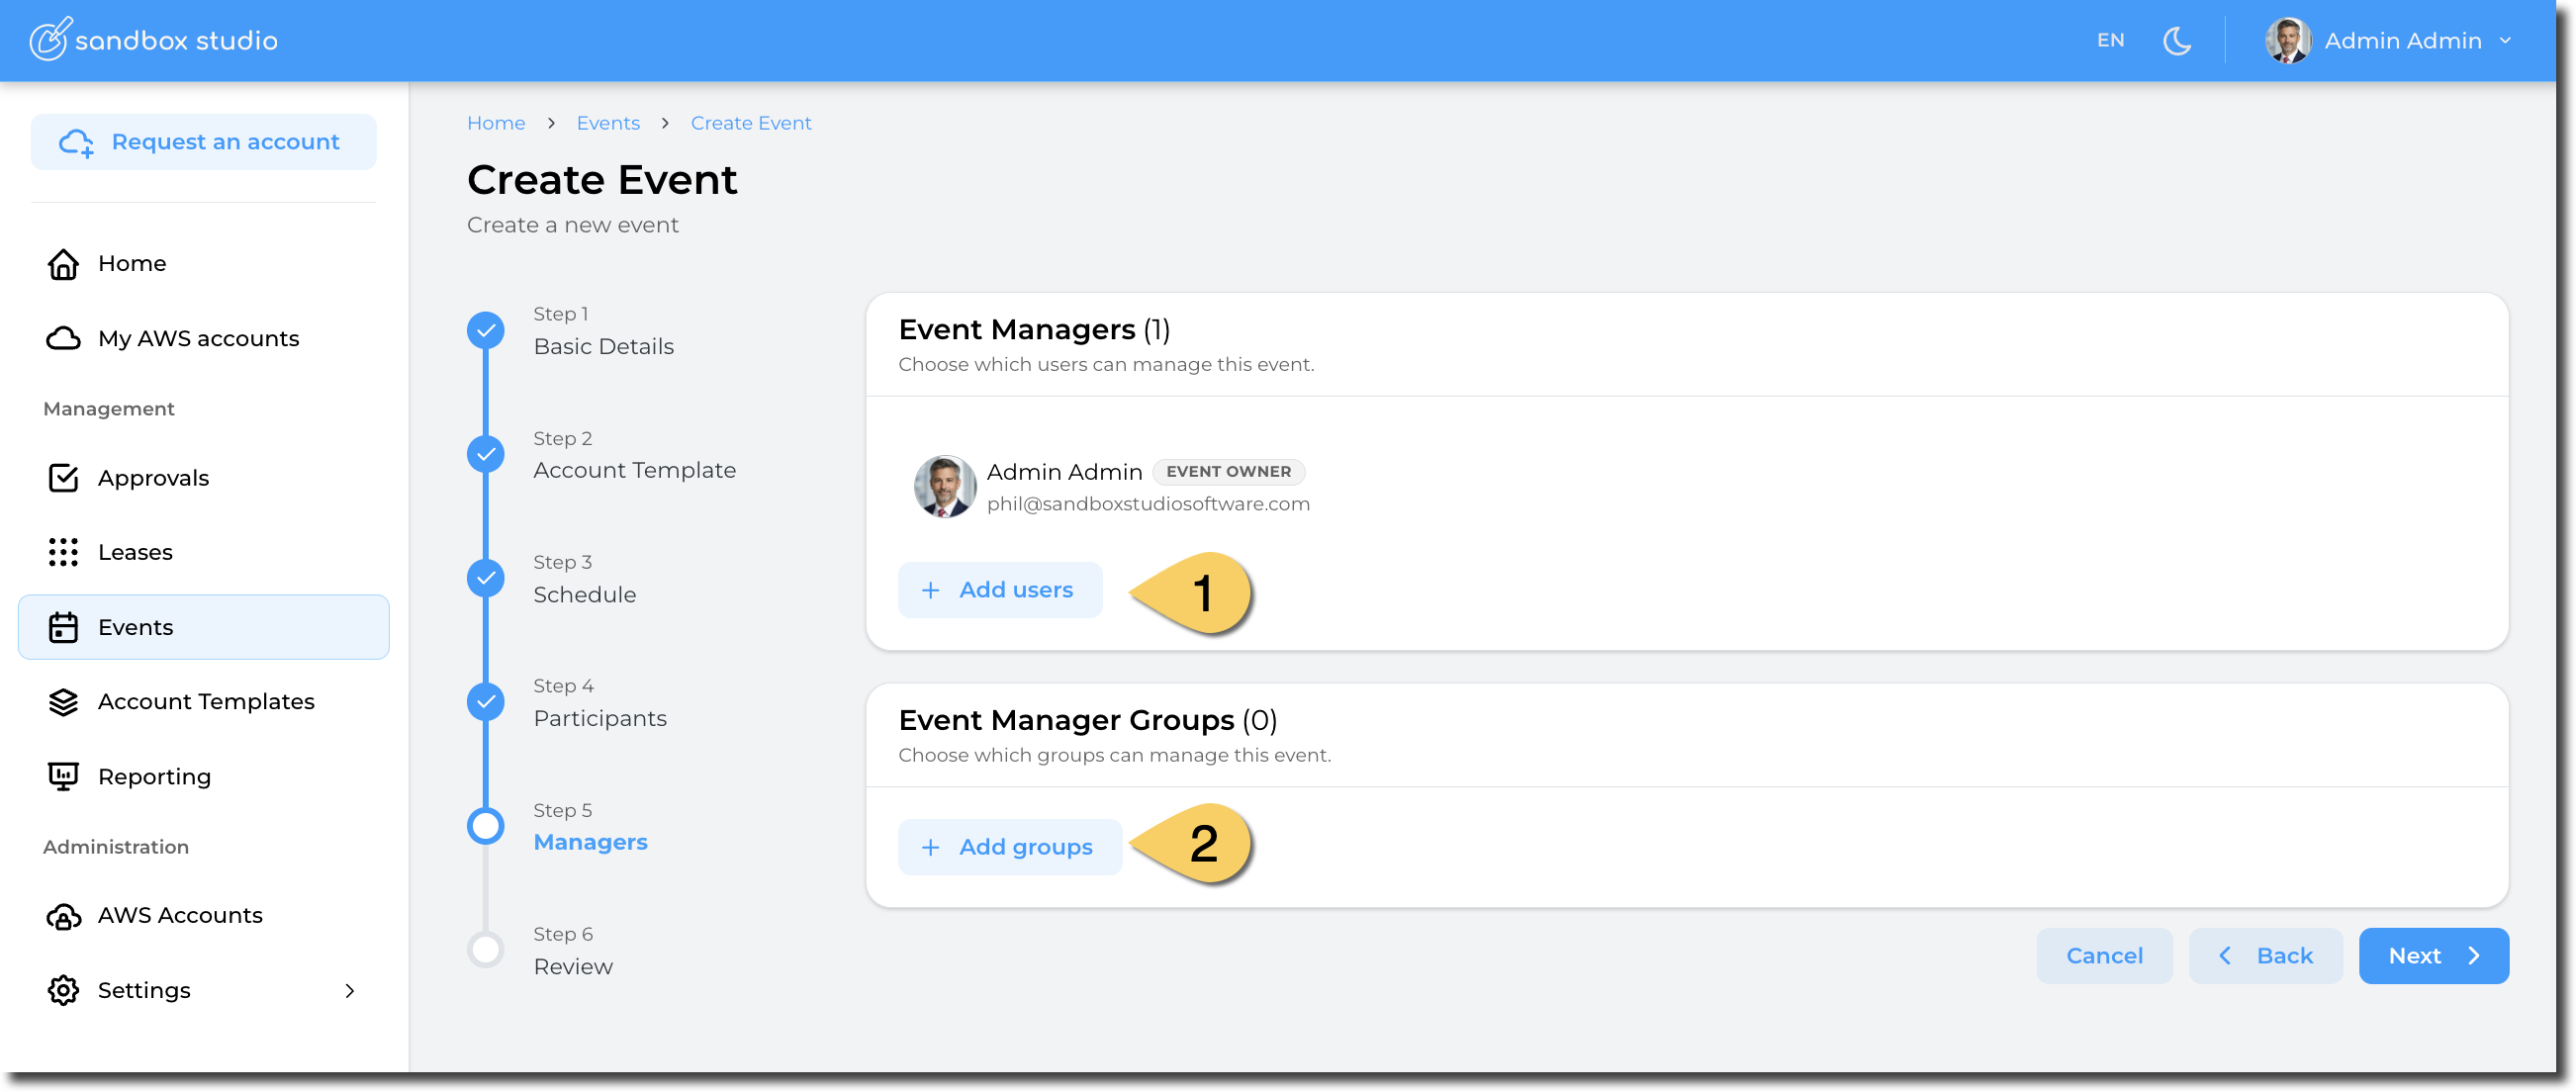
- Select the users who can manage your event
- Select the groups of users who can manage your event
Groups are defined in IAM Identity Center. How to add groups to IAM Identity Center
Once managers are defined, click Next to Event creation - Review
Event creation - Schedule
This steps define the schedule of an event.
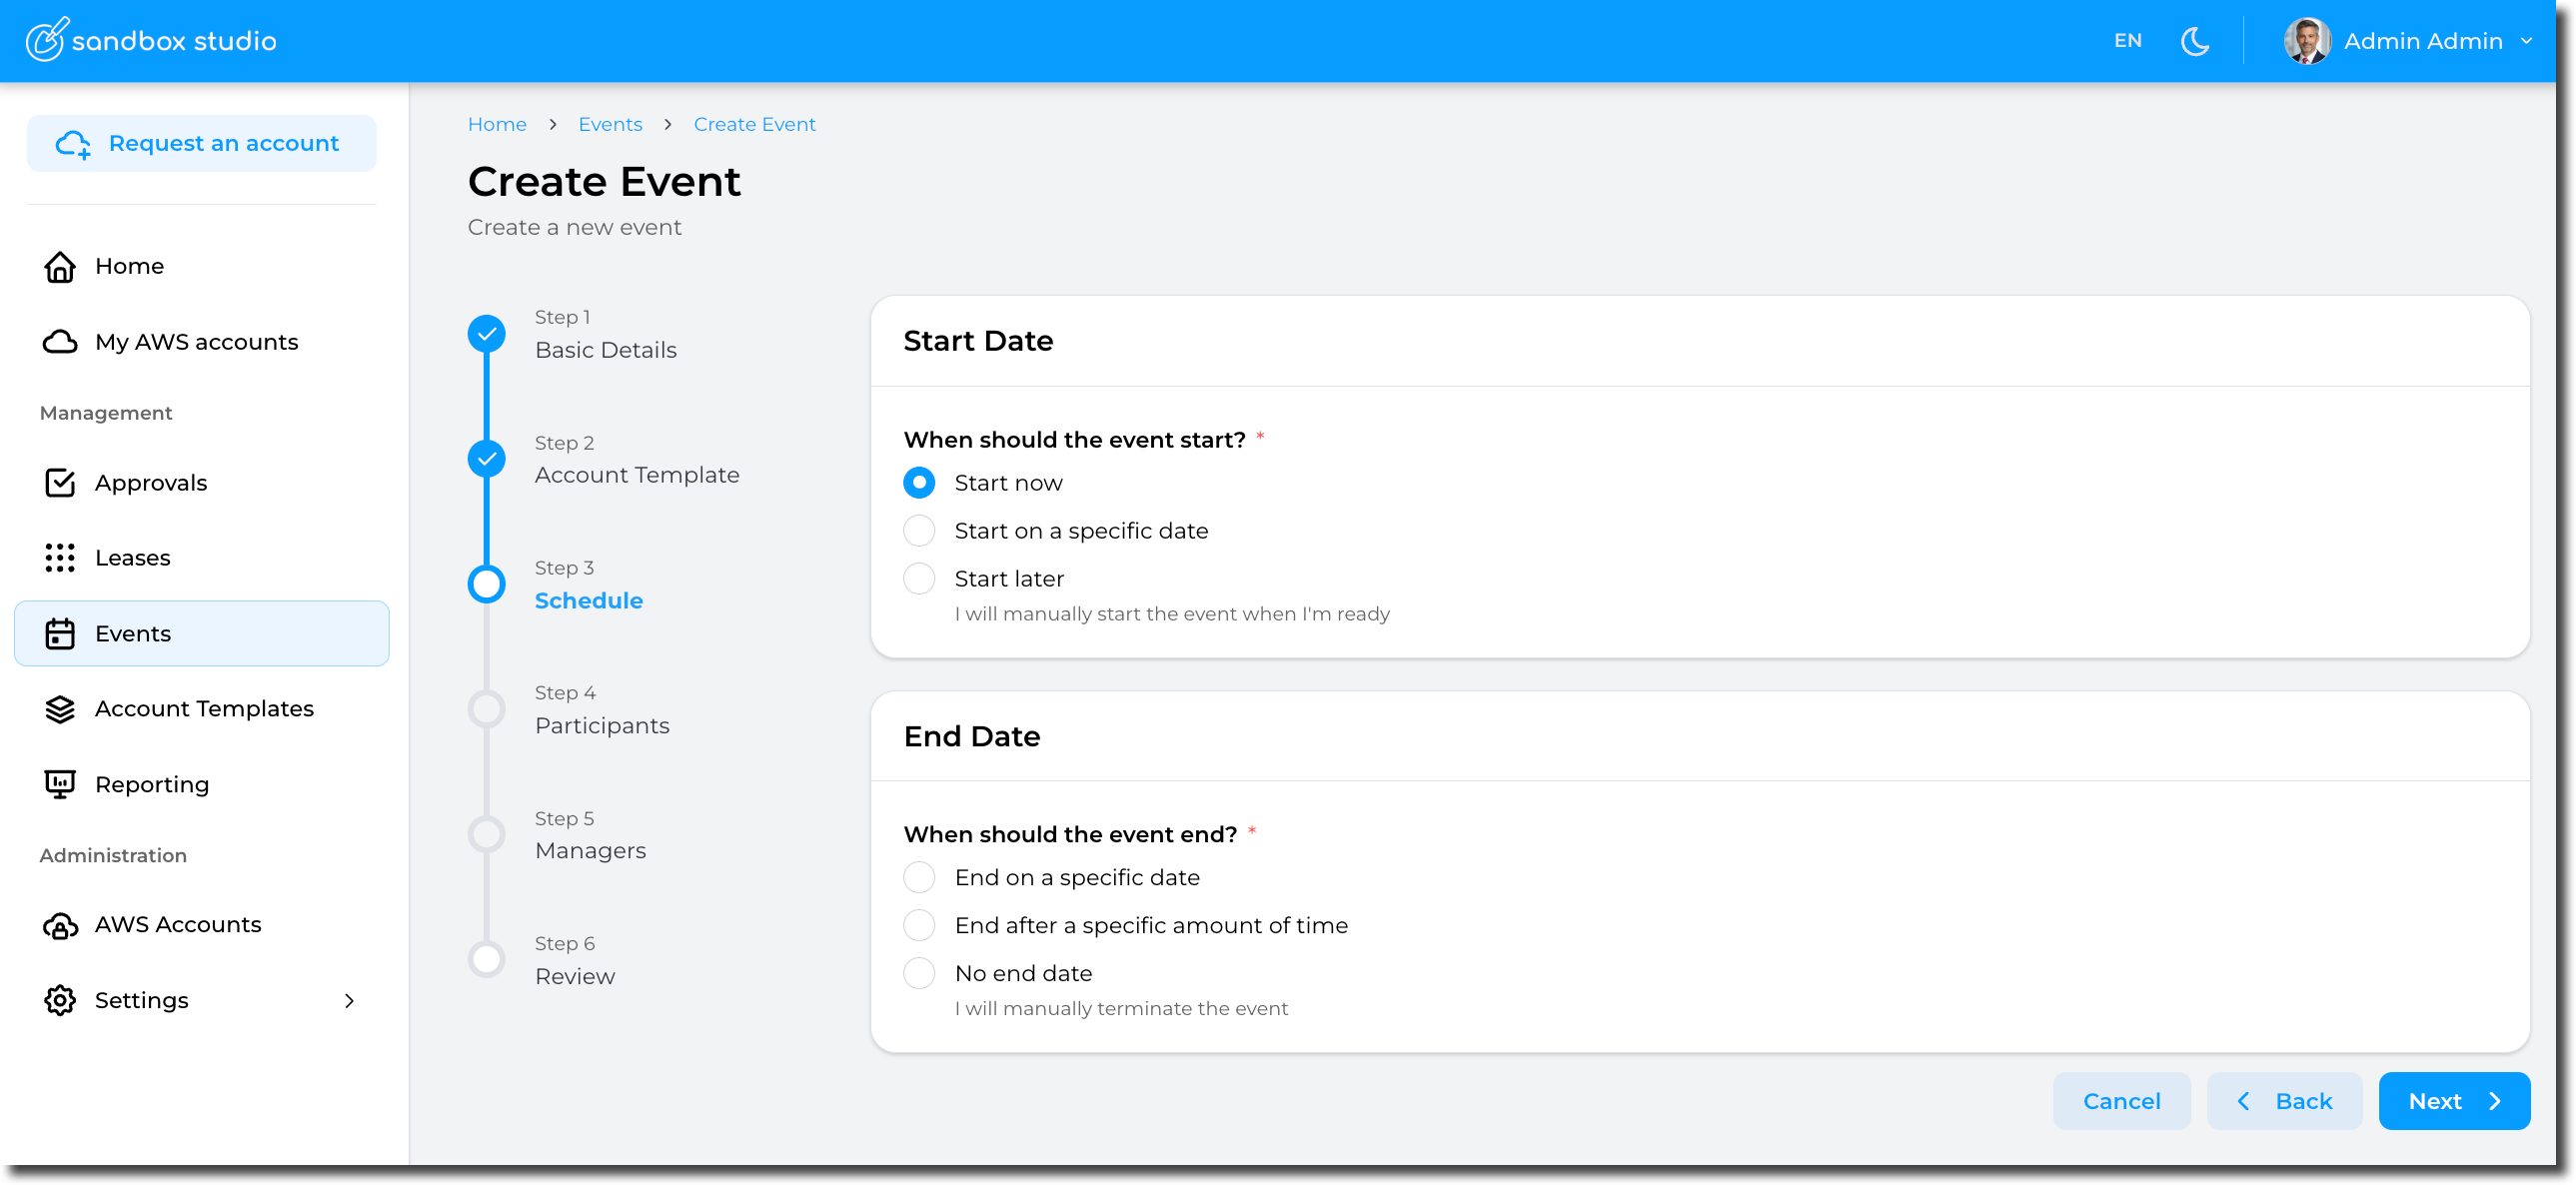
Schedule are defined as follows:
Start Date
- Start now
Selecting this option will automatically provision the accounts (aka, create leases) and start the event.
-
- Pros: Easy, the event starts immediately and you can start right away!
- Cons: If your account template provisions resources in the account, you will need to wait for the accounts to be ready before accessing them. This provisioning time counts towards your event duration
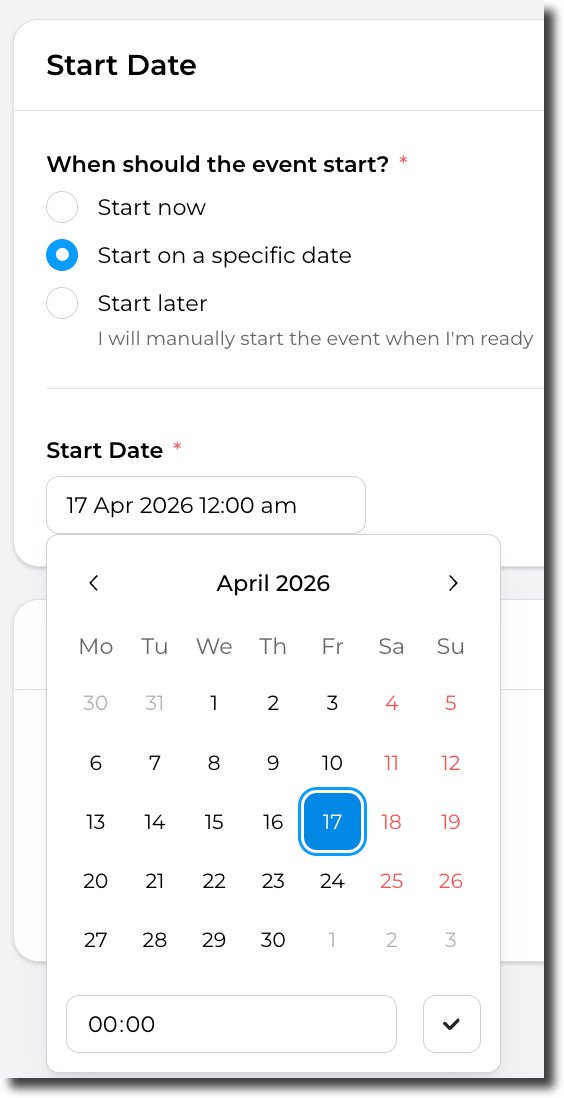
- Start on a specific date
You can set the event to start on a specific date (and time) you define. This is particularly useful is you want to schedule an event to start automatically in the future.
-
- Pros: "Set and forget", the event will automatically start at the date/time of your choice. This option also allows you to pre-provision the accounts before the event starts, so you don't have to wait for the resources to be created in the accounts.
- Cons: Not much! But as per the "Start now" option, If your account template provisions resources in the account, you will need to either pre-provision the account manually before the start of the event or wait for the accounts to be ready before accessing them.
- Start later
You can chose not to start the event automatically. In this instance, you will have to start the event manually.
- Pros: No rush! You can take your time to create and configure the event. You can also update this value later if you finally decide to start the event automatically.
- Cons: The event won't starts automatically, so you will need to start it manually.
End Date
Note: Account templates also define lease duration, but within an event, this is overridden by the event's own duration setting.
- End on a specific date
Automatically ends the event on a specific date/time. When this date/time comes, the event will be terminated and leases will be terminated.
- End after a specific amount of time
Automatically ends the event after a specific amount of time: The count down starts when the event is started. Use this option if you want to terminate the event after some time. For instance: "Terminate the event after 7 days"
- No end date
With this option, the event will not be terminated automatically. So you will have to terminate the event manually.
Having set the schedule, click on Next to move to Event creation - Participants
Event creation - Participants
This step allows you to define how many accounts (leases) you want to have as part of your event.
For instance, for a hackathon with 5 participants, you would define 5 accounts:
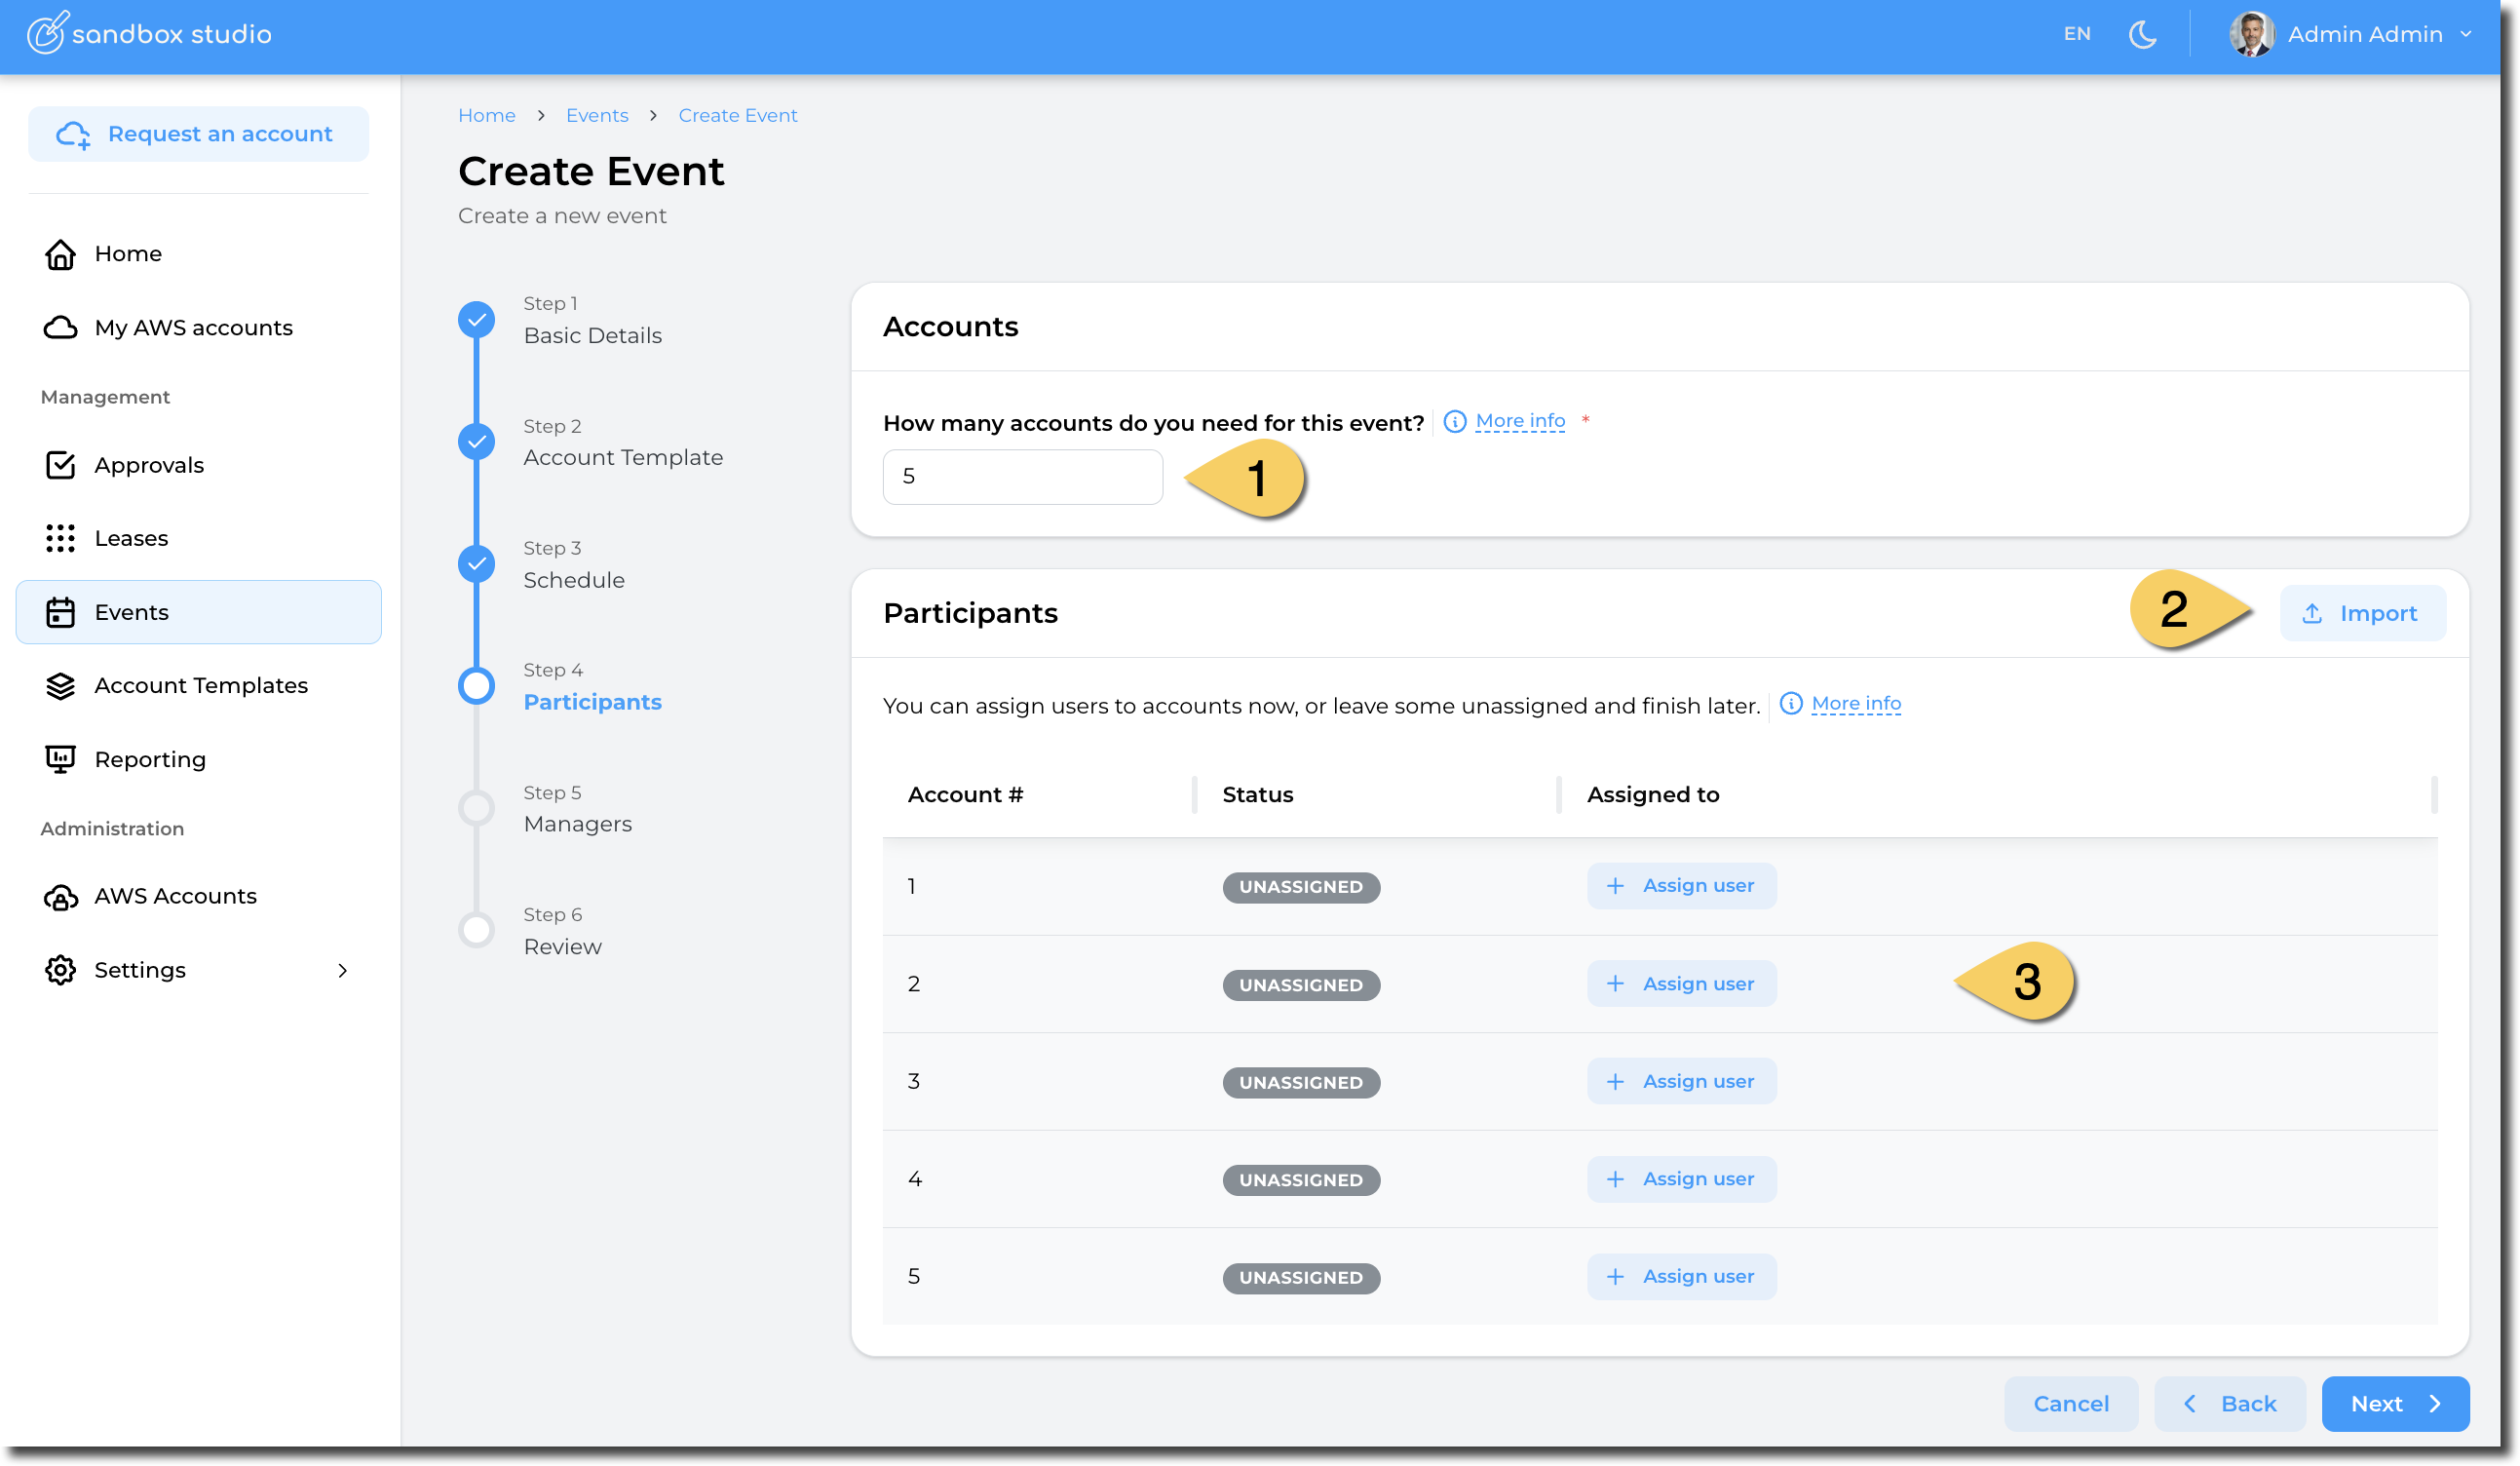
- Set the number of accounts you want to create
Note: You can reserve accounts for your event by adding an account and not assigning it to any user
- For big events, you can import a CSV file with the list of events
- Assign users to the event you will create
How to assign user to an account
Click on the "Assign user" button and select the user you want to assign to an account. Once assigned, the status becomes "Assigned"
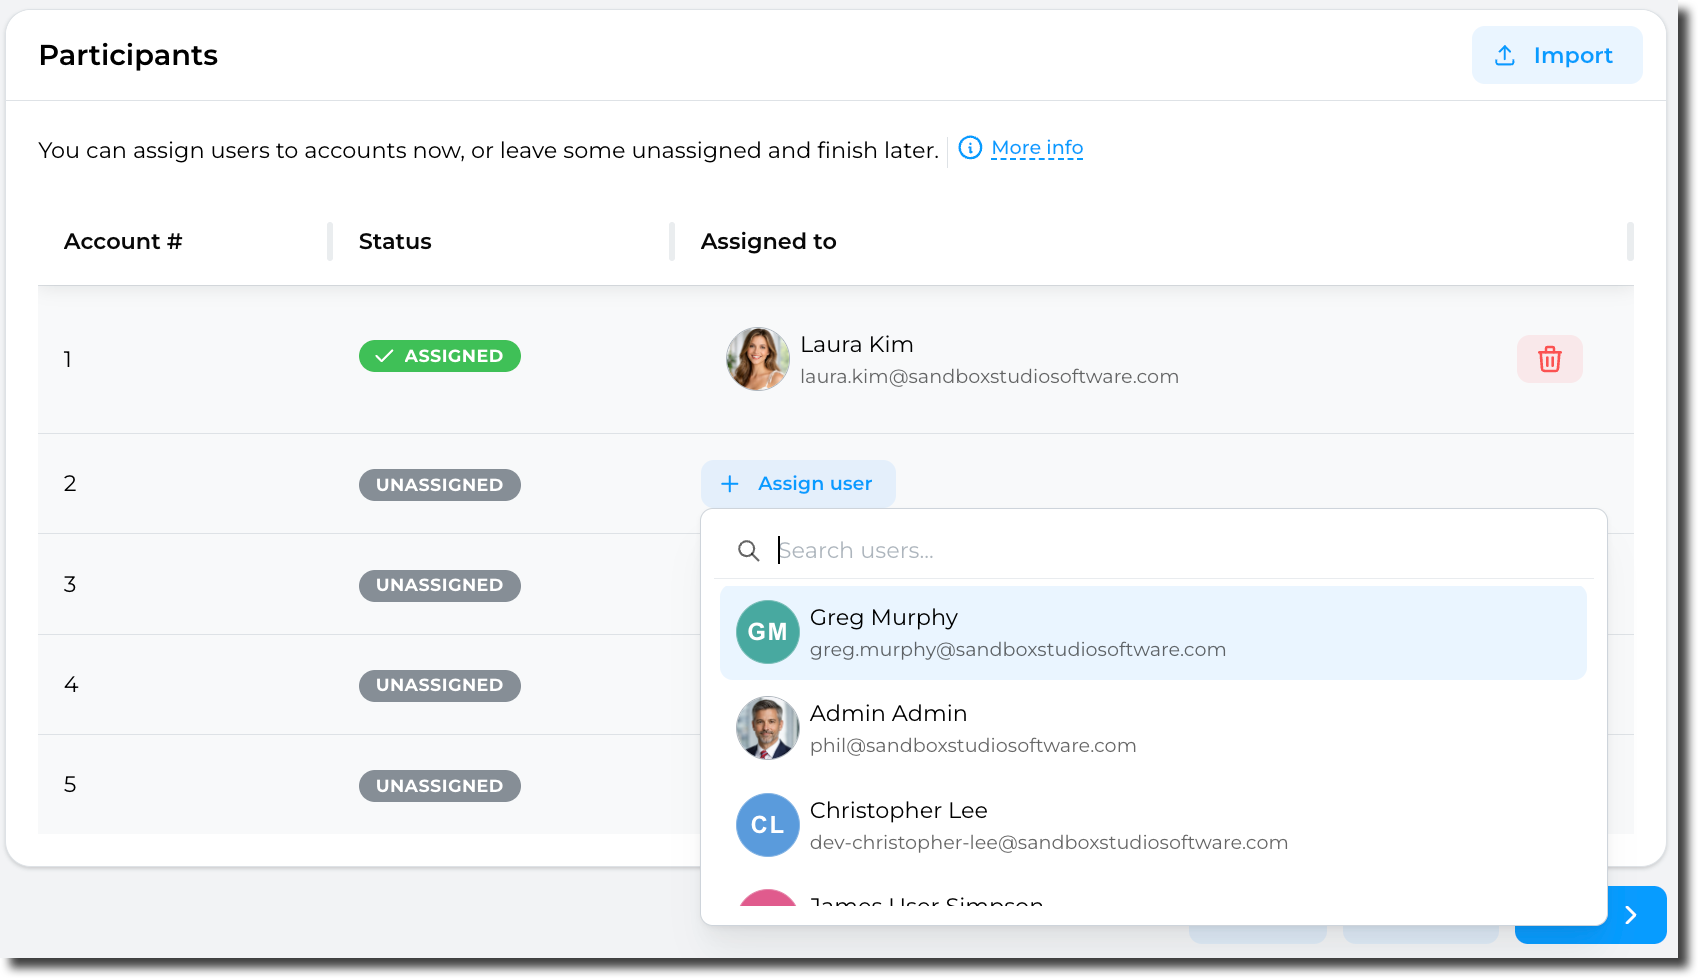
If you let the account "Unassigned", a lease will be created but not assigned to any user. This is a way to "reserve" an account and prepare it before later assigning it to users.
How to import a CSV
Click on the Import button:
You can then Drag and Drop your CSV file:
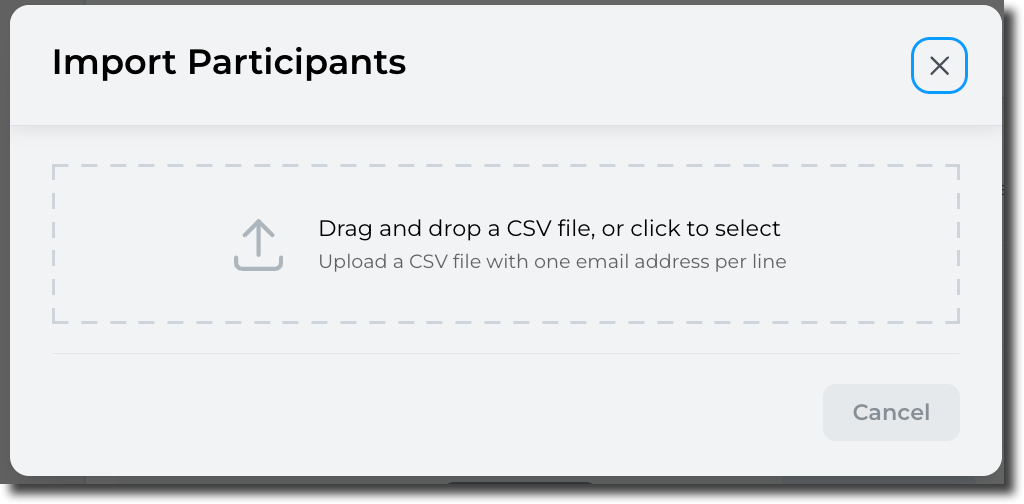
Format of the CSV file is as follows:
email1@example.com
email2@example.com
email3@example.com
Only valid e-mail addresses will be processed. So if you add a header to CSV file, it will be ignored.
Sandbox Studio will then check the CSV file:
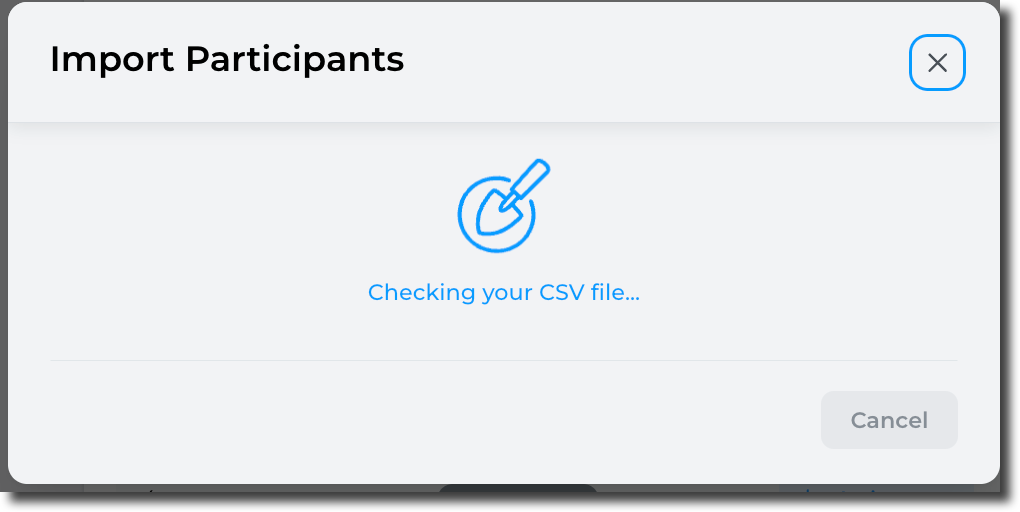
After a few seconds (depending on how many users are in the CSV file):
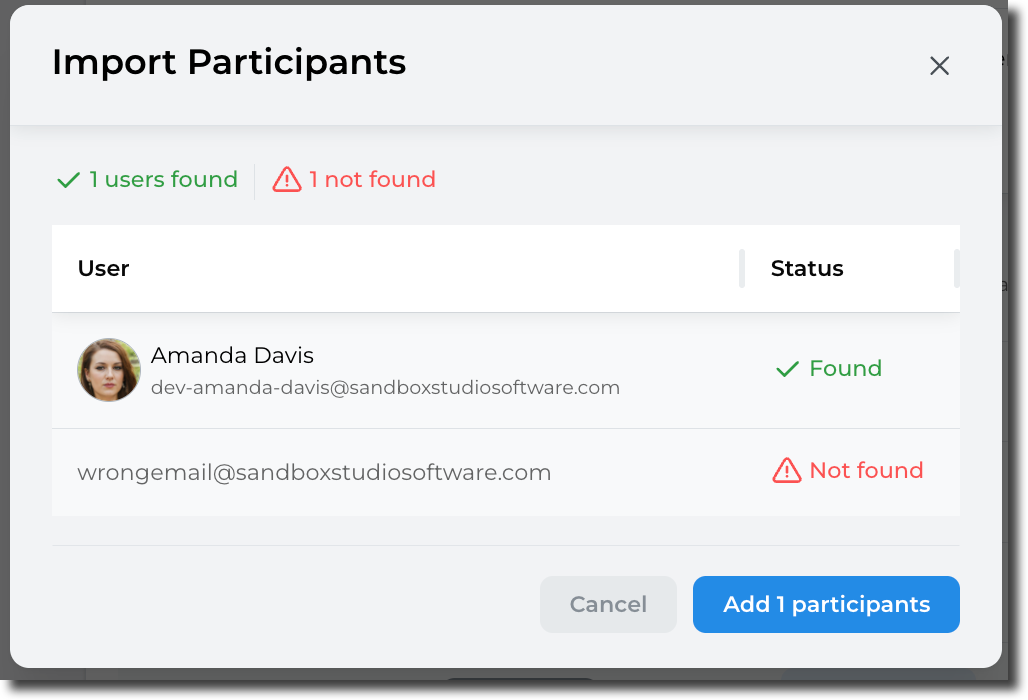
Only the found users will be added to the event:

Once account numbers are set and users assign, click Next to Event creation - Managers
Event creation - Review
Last step of the event creation wizard, the review screen allows to check everything is correct:
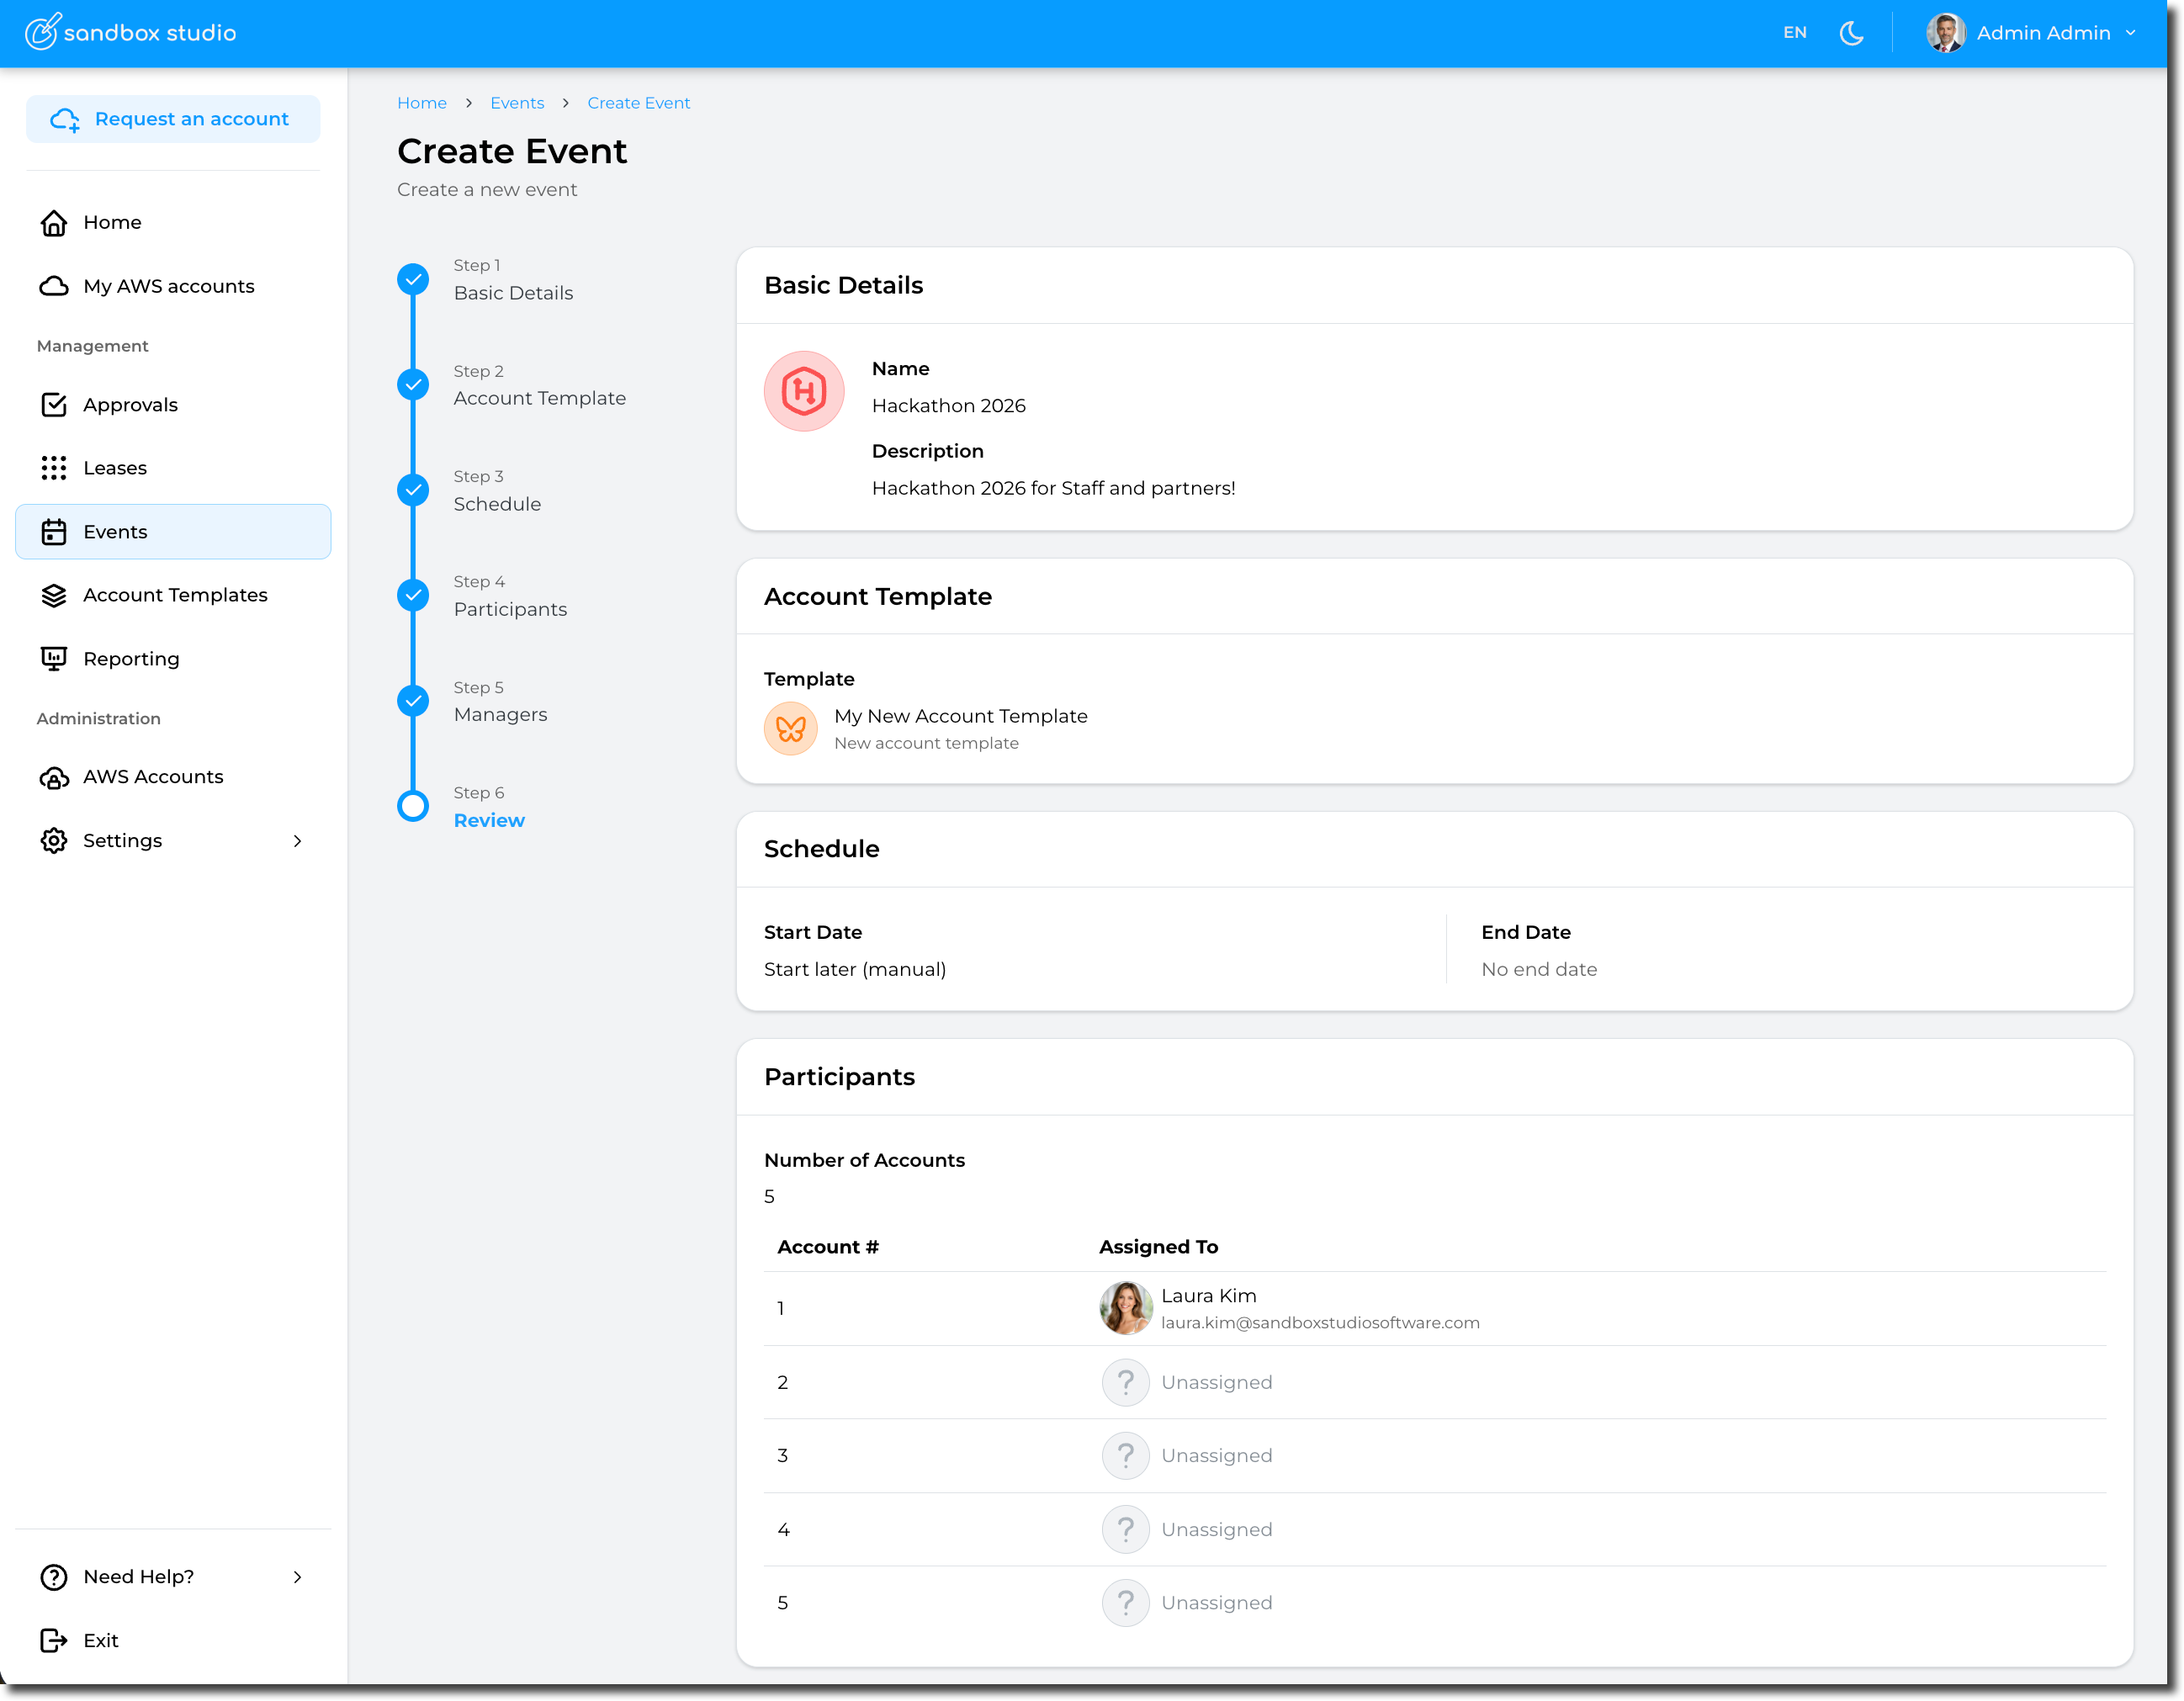
Click Submit to create your event.
You are automatically redirected to your event page:
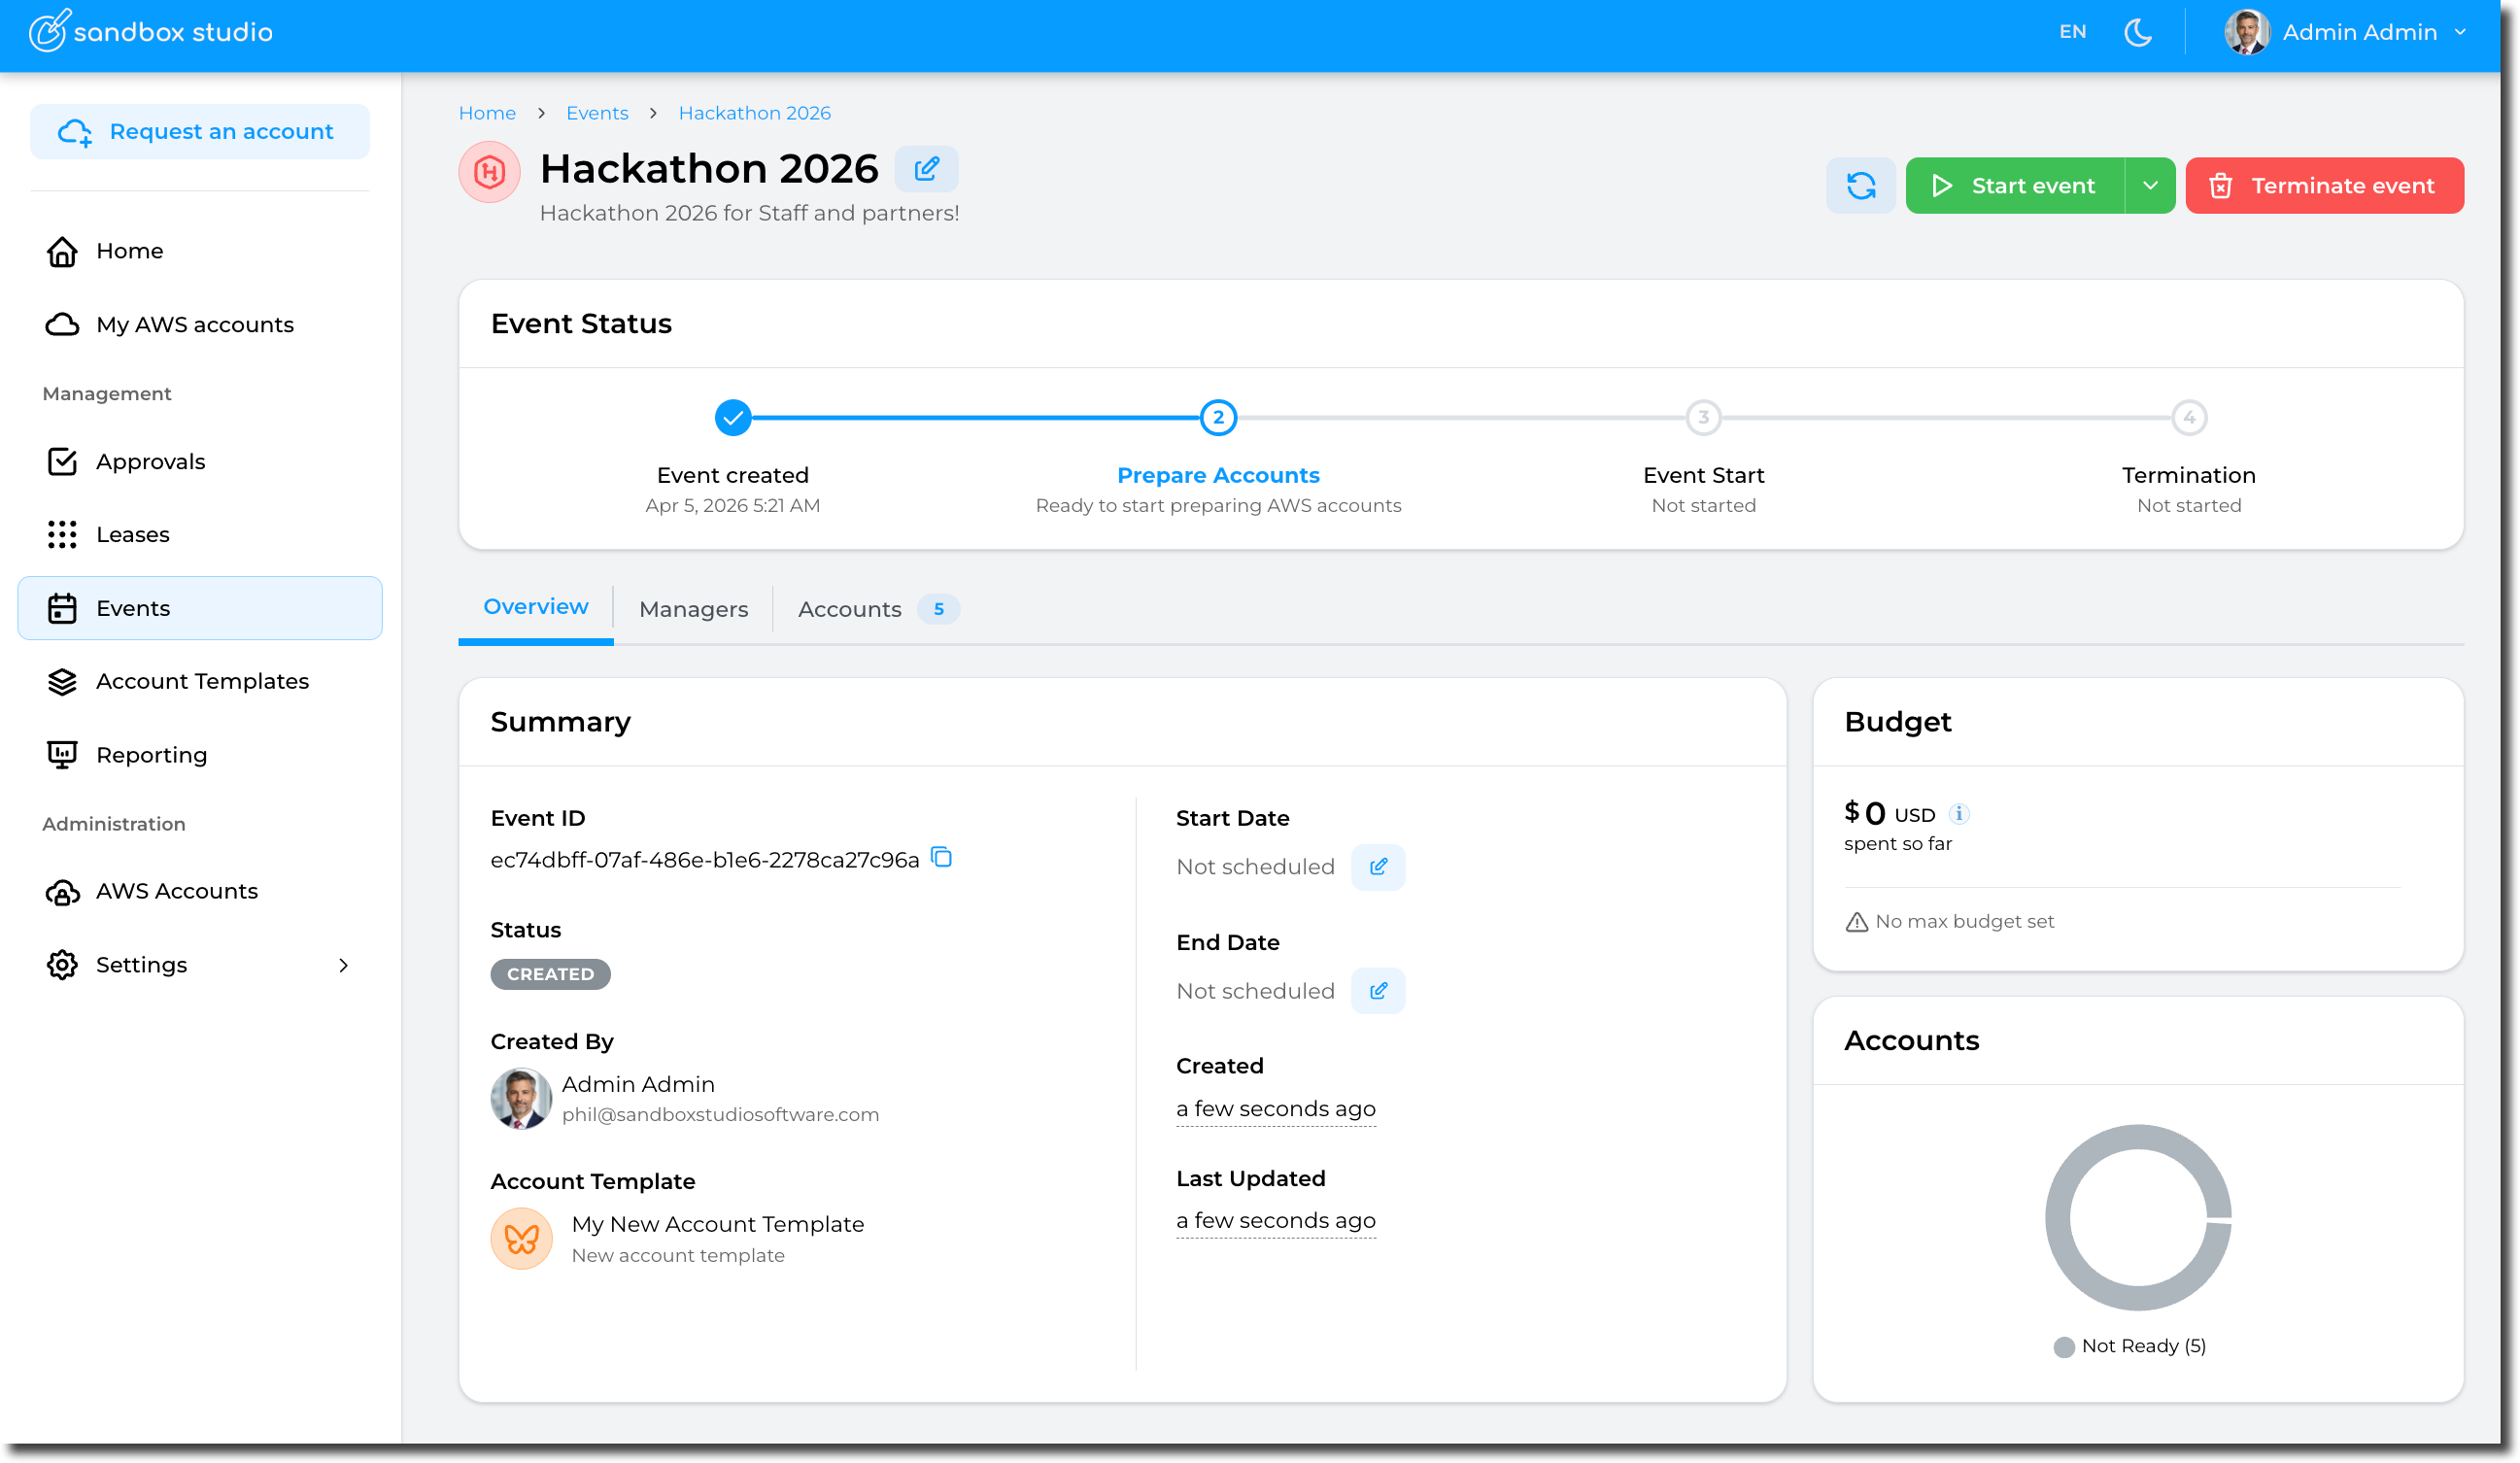
Terminate events
Depending on your event configuration, your event can be stopped :
- At a specific date
- After a certain duration (from the event start date)
- Manually, by an event manager
Event lifecycle
High level lifecycle of an event is as follows:

Stoping an event manually
Open the event and click on the "Terminate event":
All leases will be terminated, users will be notified, and accounts are going to cleanup before returning to accounts pool.
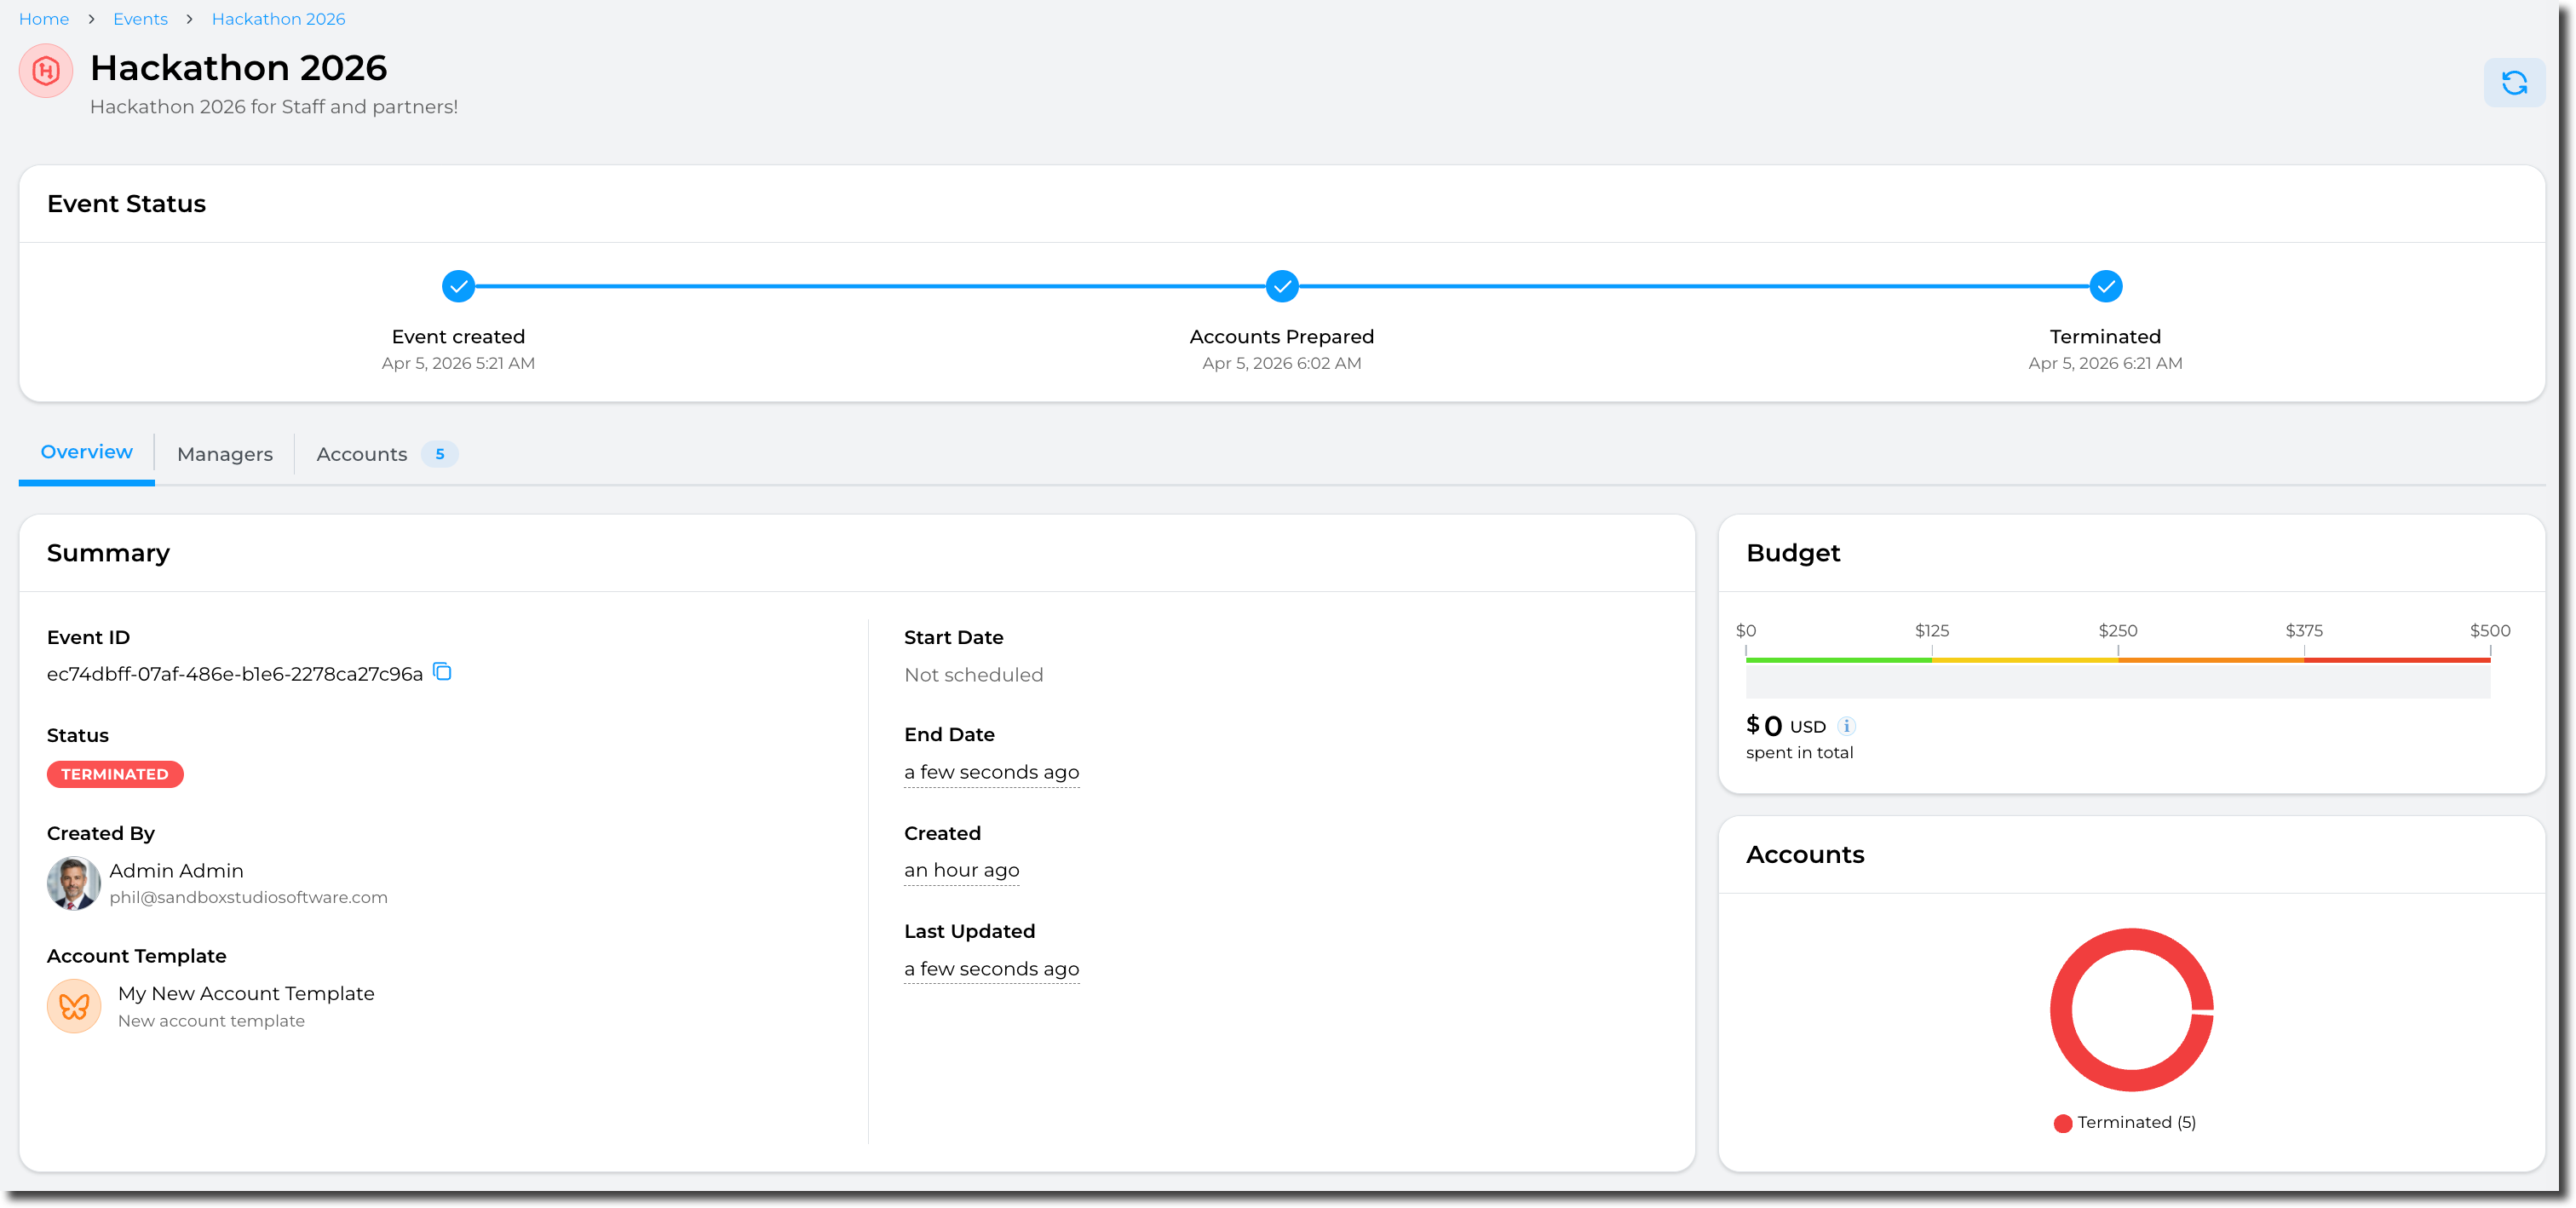
Start events and provision accounts
Depending on your event configuration, your event can:
- Start immediately
- The event (and provisioning of the accounts) start when the event is created
- Start on a specific date
- The event (and provisioning of the accounts) start on a schedule
- Account can be provisioned manually before the event
- Be started manually at a later date
- The event has to be started manually.
- Account can be provisioned manually before the event or will be automatically provisioned when the event is started.
Event lifecycle
High level lifecycle of an event is as follows:
The "Provisioning" step (aka "Preparing account") is what can take the longest as this is during this steps the accounts are configured and resources (if any) are created.
For account template creating resources in the accounts, we recommend pre-provisioning the account before the event starts as otherwise, the provisioning step will count towards the event duration.
A concrete example:
Let's assume you event must run for 2 days and you have 50 participants. Each account preparation takes 1 hour.
By default, AWS Codebuild (used to create resources in the accounts) is limited to 15 concurrent executions. So you could only parallelise 15 accounts provisioning.
In total:
15 accounts x 1h + 15 accounts x 1h + 15 accounts x 1h + 5 accounts x 1h = 4h to provision all accounts.So your users will have to wait for all the accounts to be created before accessing the event!
Starting an event
Open the event and click on the "Start event":
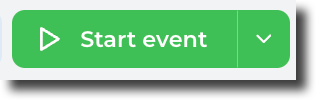
If the accounts have not been provisioned manually, they will be automatically be when the event starts.
Pre-provision accounts
If you want to prepare the accounts before the event starts, click on the small arrow in the "Start event" button and select "Prepare accounts only":
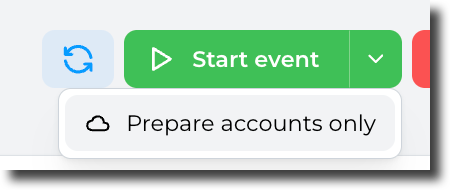
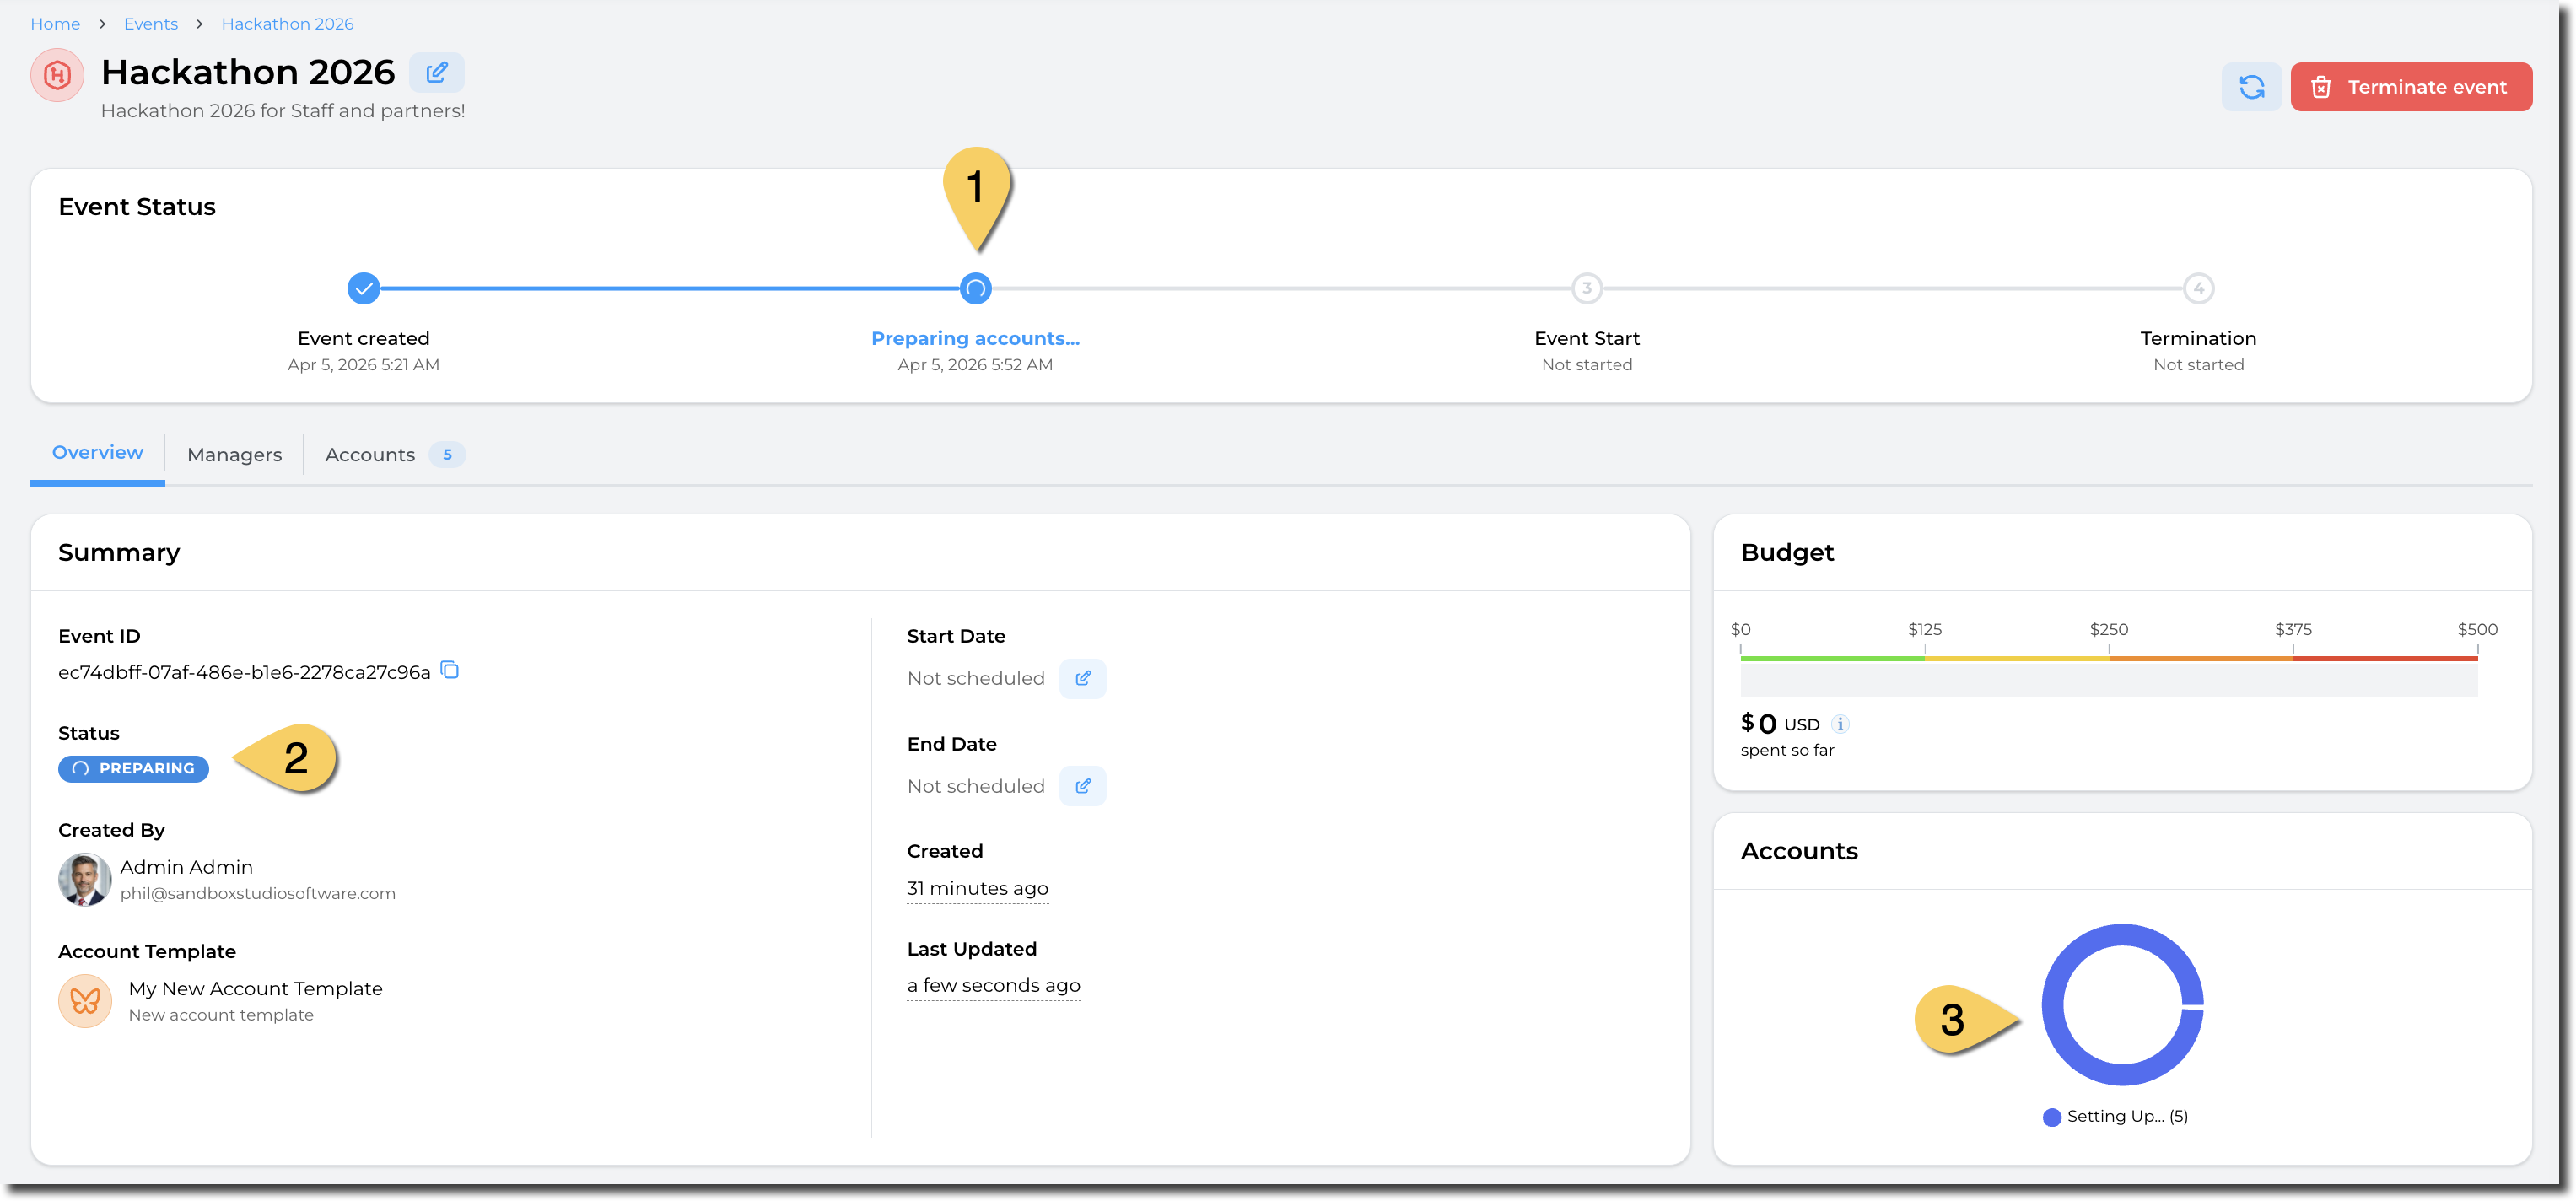
This will trigger the accounts preparation:
You can follow progress by going to the "Accounts" tab:
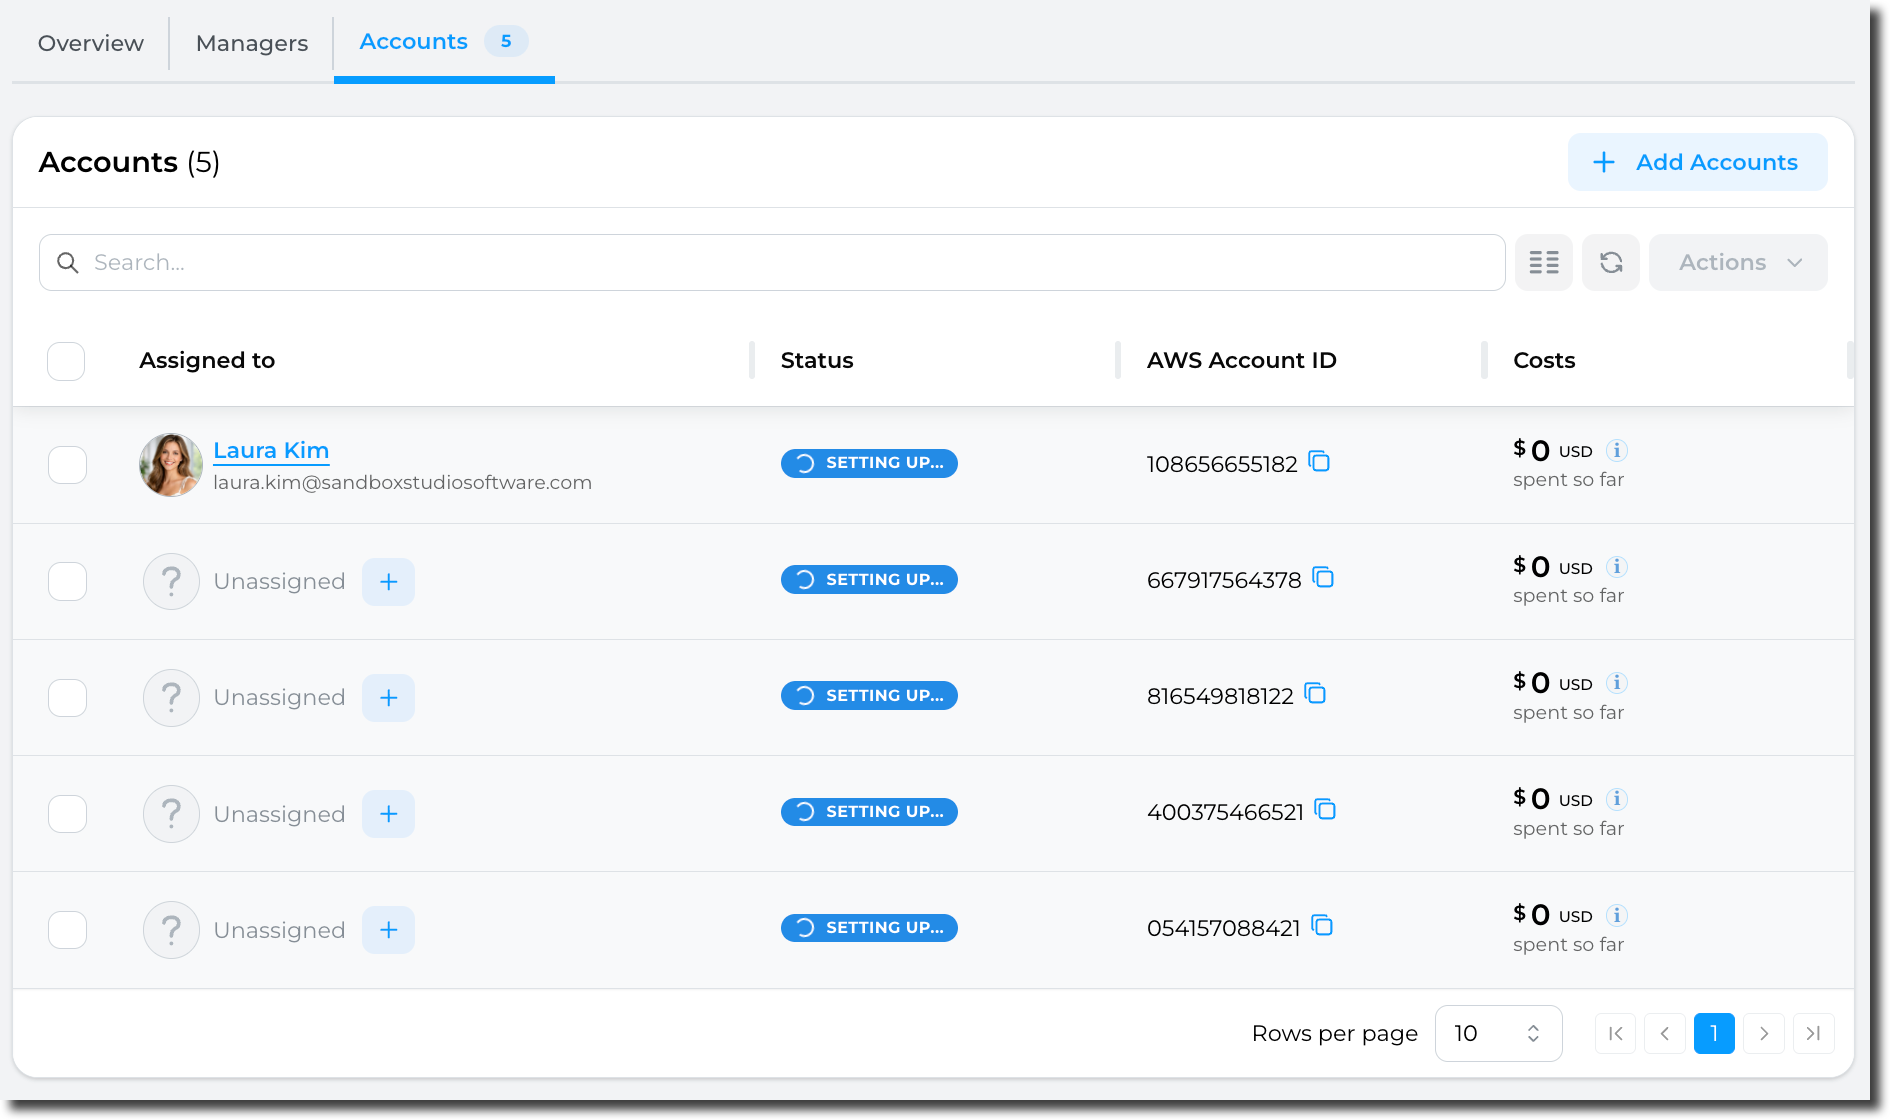
After a few minutes (depending on your launch template), the event is ready to start:
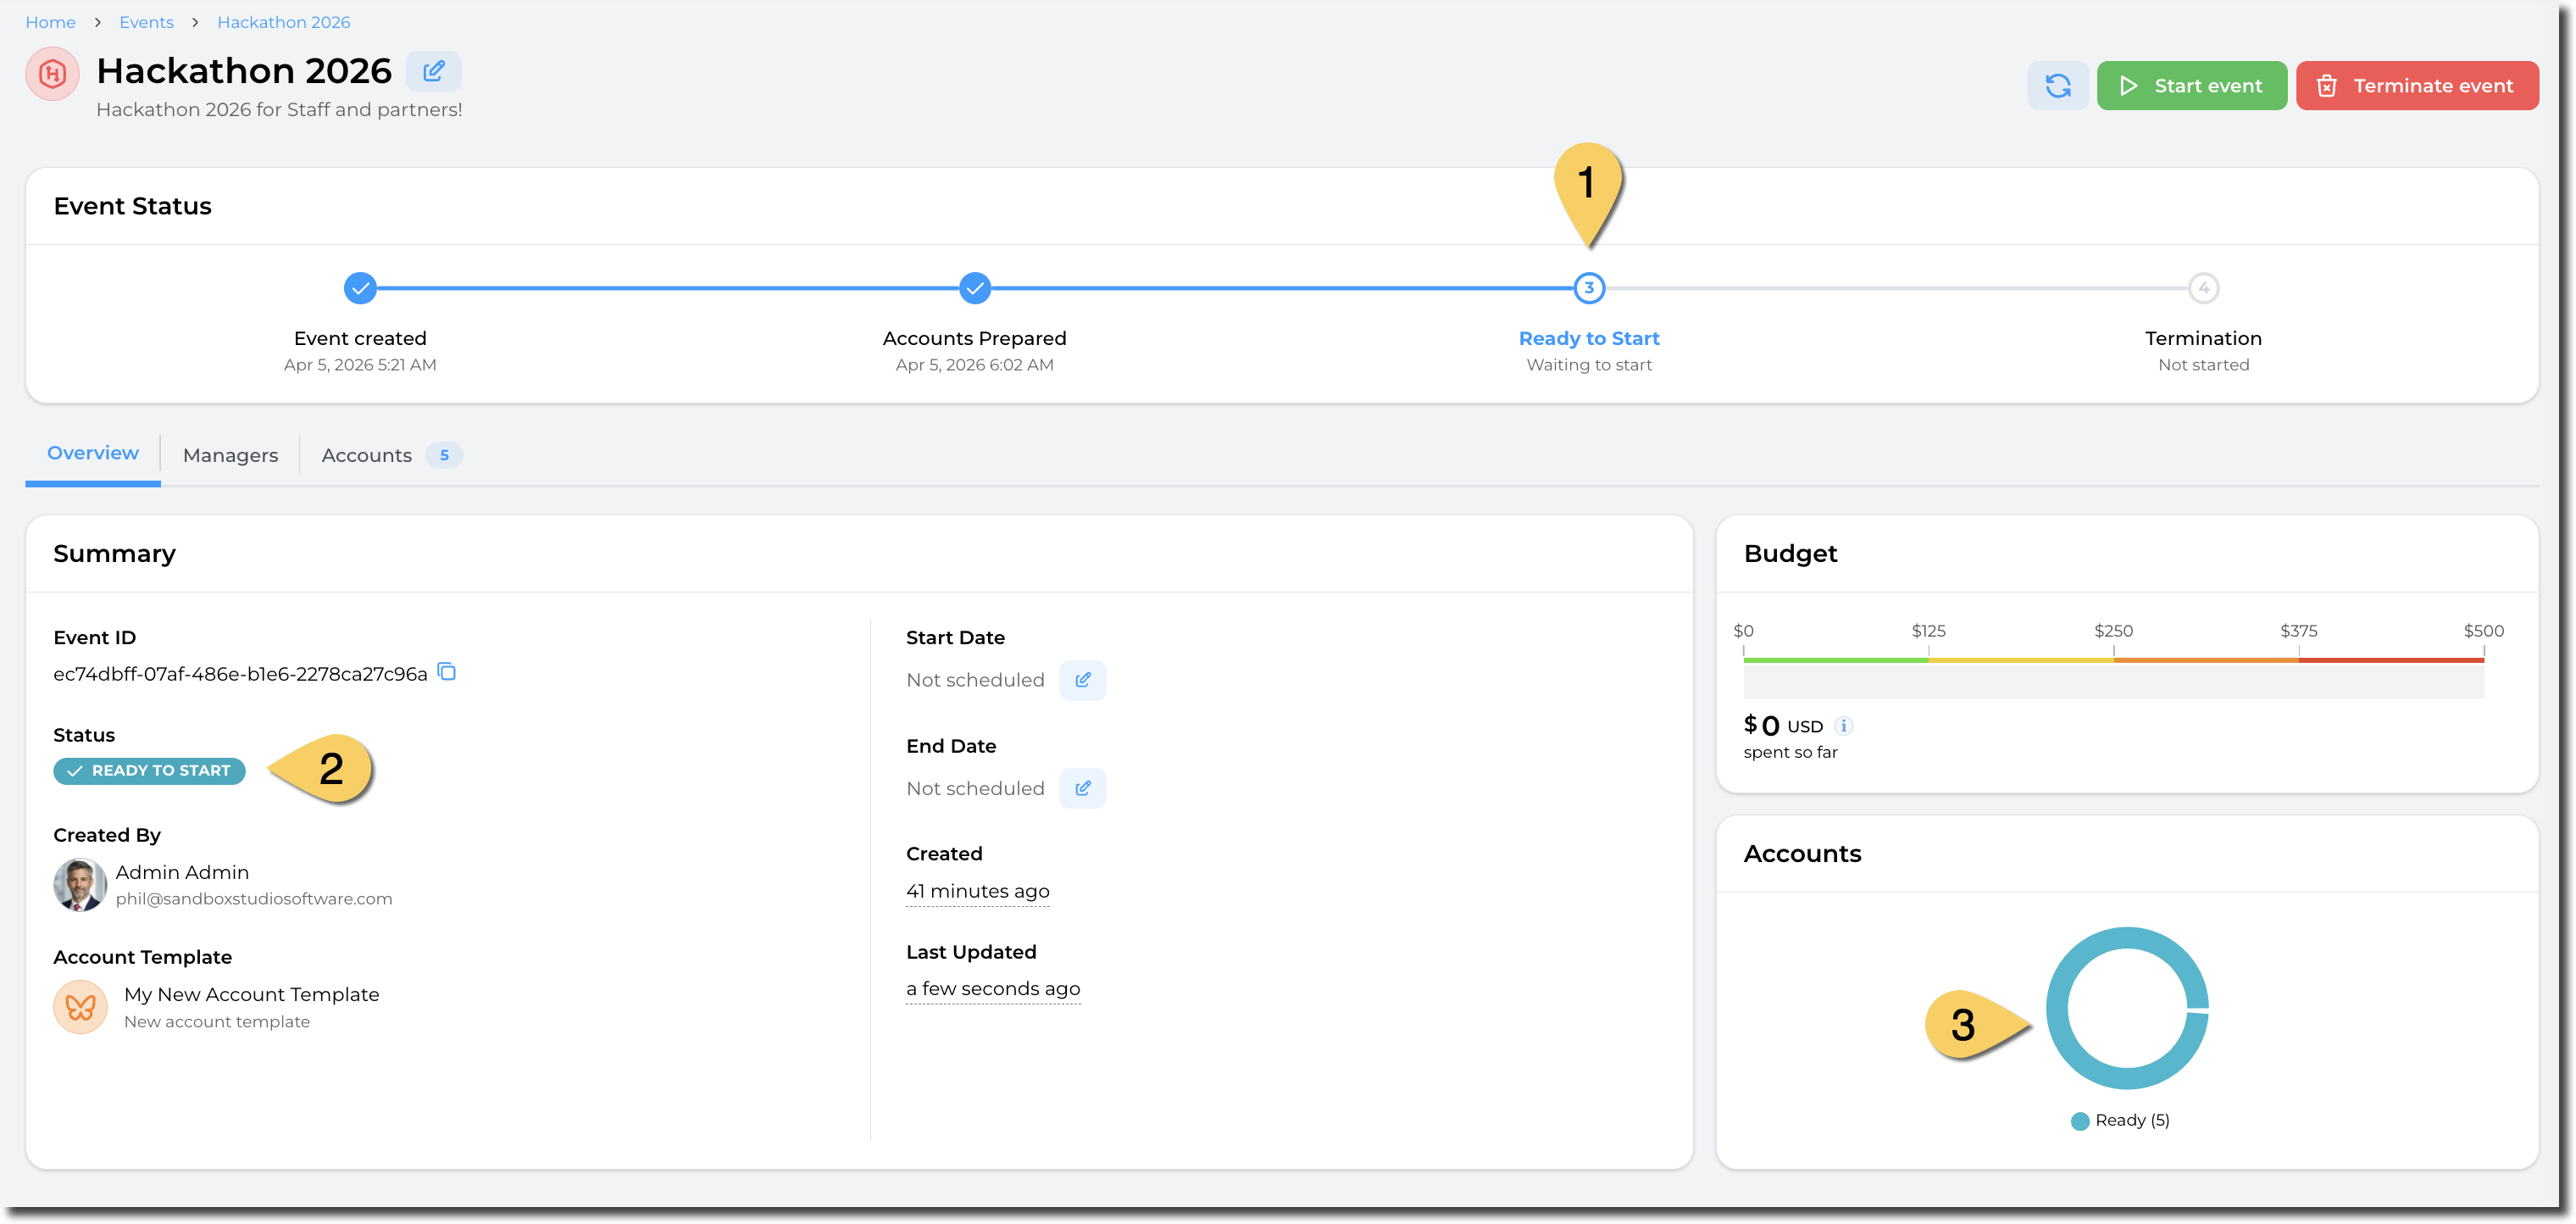
You can now start the event!